When using cyanoacrylate glue, commonly known as super glue, being precise is crucial. This article shares expert tips for applying cyanoacrylate glue. We’ll cover preparation, how to apply it, and care after applying. These tips are useful for both DIY fans and pros.
Key Takeaways
- Proper preparation is essential for achieving a precise bond.
- Organizing your tools can streamline the application process.
- Selecting the right glue based on viscosity and curing time impacts results.
- Application techniques like using a fine tip nozzle improve precision.
- Post-application care ensures a durable bond and clean finish.
Understanding Cyanoacrylate Glue
Cyanoacrylate adhesive, often called super glue, works fast and bonds strongly with moisture. It’s popular for many tasks because it sets quickly and holds well. Let’s explore the details of cyanoacrylate glue and its uses.
What is Cyanoacrylate Glue?
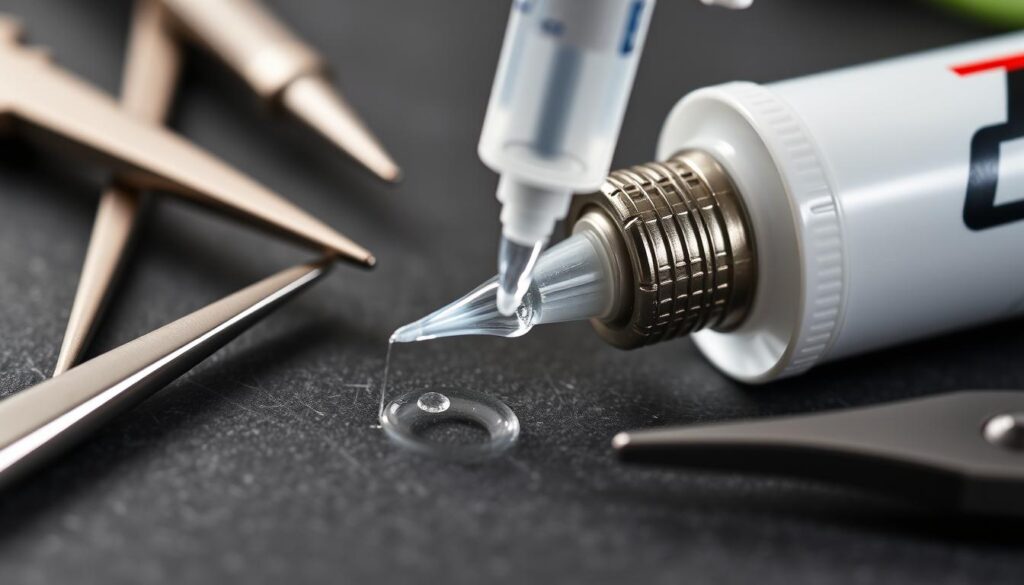
Cyanoacrylate glue is a type of acrylic resin. It turns solid quickly when it touches moisture, creating strong, lasting connections. This adhesive is perfect for many bonding jobs because of its unique chemical nature. Whether fixing things at home or tackling complex DIY projects, knowing how to apply this glue properly can make a big difference.
Common Uses of Cyanoacrylate Glue
Cyanoacrylate glue is very flexible and has many uses. Here are a few:
- Household Repairs: It’s great for mending broken ceramics, plastic casings, and wooden items.
- Craft Projects: Useful for attaching small parts in model building, making jewelry, and other detailed DIY projects.
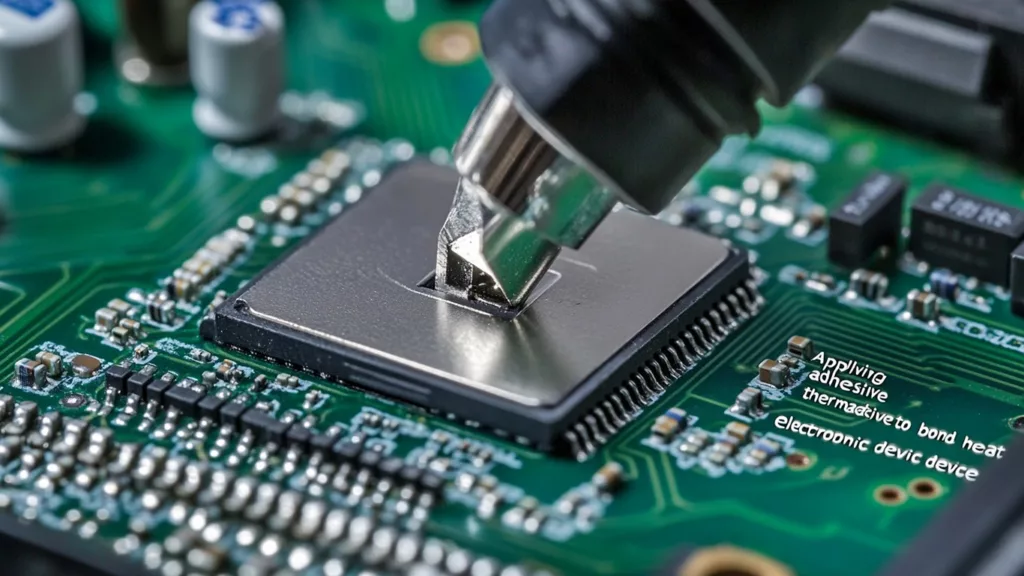
- Electronics: Helps secure tiny components and wires in electronics.
- Medical Uses: In hospitals, it’s used to close wounds (but not for DIY medical applications).
In summary, cyanoacrylate glue is an effective adhesive for many tasks. Knowing how to properly use this glue ensures durable bonds and successful repairs. It’s an essential tool in both home and professional settings.
Preparing Your Workspace
To get outstanding results with cyanoacrylate adhesive, first prepare your workspace well. Clean the surface and arrange your tools carefully. This ensures a strong bond and accurate application. Let’s explore how to best use cyanoacrylate adhesive.
Cleaning the Surface
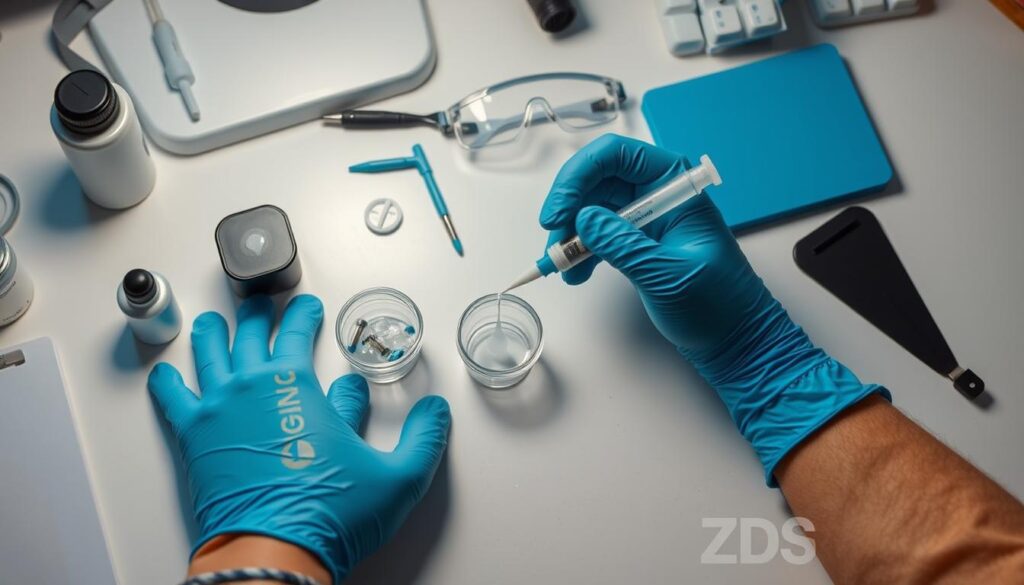
Start by cleaning the surfaces you’ll bond with the glue. Use isopropyl alcohol or a special cleaner to remove oils, dust, or debris. A clean surface helps the glue bond better. You can use rubbing alcohol for this. Just be sure it’s fully dry before going further.
Organizing Your Tools
Keeping your tools in order makes the entire process smoother and more precise. Collect things like tweezers, fine-tip nozzles, and a timer beforehand. A neat workspace is vital for using cyanoacrylate adhesive effectively. Place your tools where you can easily reach them, making your work both smooth and efficient.
Selecting the Right Cyanoacrylate Glue
Choosing the right cyanoacrylate glue is crucial for your project. There are different types with varied drying times, strengths, and viscosities. Knowing these can make us applying super glue like a pro. This guide will help you make the best choice for your needs.
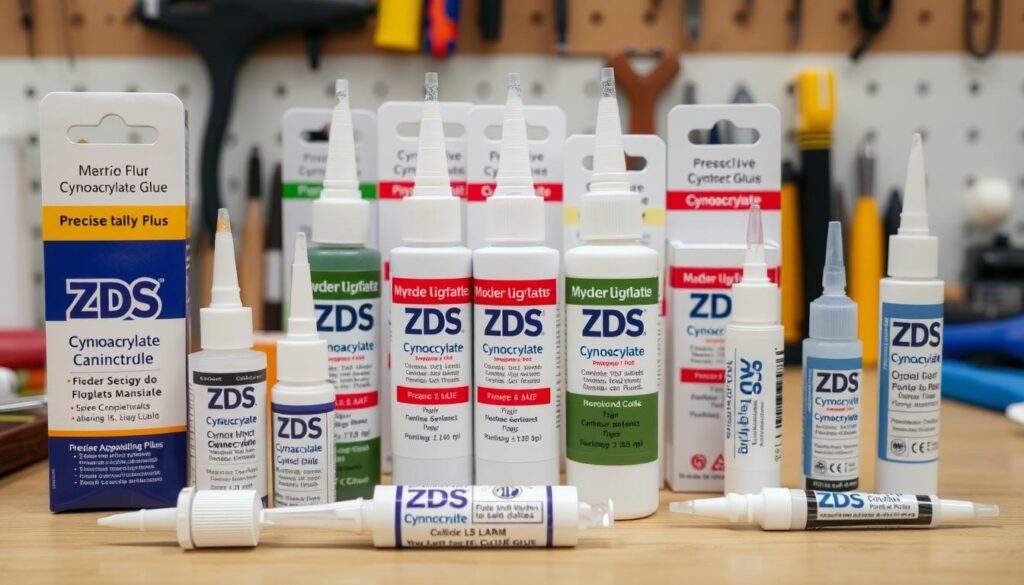
First, think about the viscosity. Low-viscosity glues work well for quick repairs. They flow into small spaces, creating strong bonds. High-viscosity glues, however, are great for porous materials. They’re easier to control and make less mess.
Consider the drying time next. For quick fixes, use a fast-drying adhesive. Need more time to adjust parts? Choose a glue that dries slower.
The strength of the bond is important, too. Regular glues are fine for most tasks. But for tougher jobs, choose a glue that bonds strongly. This makes sure your project lasts longer.
To help, here’s a table comparing different glues:
| Viscosity | Drying Time | Best For |
|---|---|---|
| Low | Fast | Tight-fitting parts, quick repairs |
| Medium | Moderate | General-purpose bonding |
| High/Gel | Slow | Porous surfaces, vertical applications |
Knowing these details makes us applying super glue like a pro. The right choice ensures a strong and lasting bond. It also makes your work more efficient.
Application Techniques for Precision
Using cyanoacrylate glue accurately takes more than just high-quality glue. It’s about the technique too. A steady hand and the right tools guarantee a strong, clean bond. Let’s dive into the essential steps for perfect results.
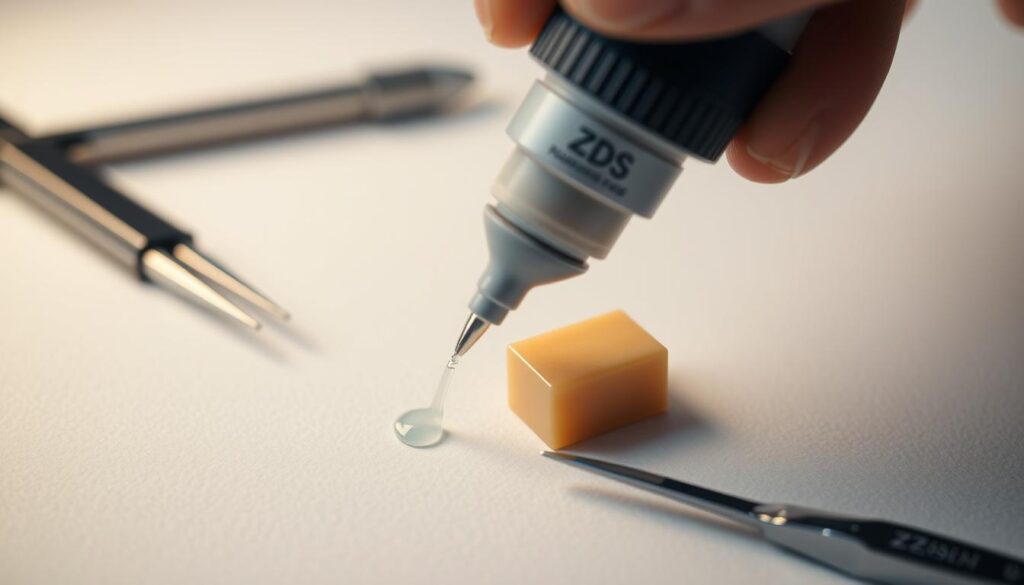
Using a Fine Tip Nozzle
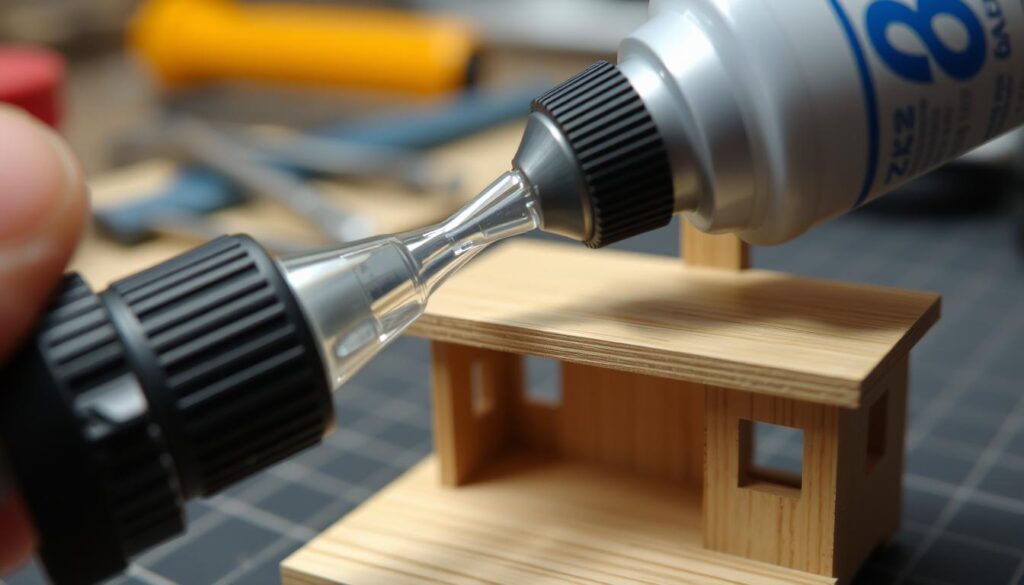
Starting off, a fine tip nozzle is crucial. It lets you control how much glue you’re using. You can precisely hit the small spots without making a mess. This keeps everything neat and tidy.
Applying the Glue in Small Amounts
It’s also key to apply the glue in tiny amounts. This strategy stops too much glue from ruining your work. Small drops are simpler to manage and fit just right. With cyanoacrylate, a little bit is enough.
Ensuring Even Distribution
Getting the glue evenly spread is vital for a strong connection. First, put glue on one surface and then press the two pieces together. The pressure makes the glue spread out evenly. If needed, a small, flat tool can help smooth it out.
Tips for Applying Cyanoacrylate Glue Precisely
Precision is key when working with cyanoacrylate glue. Expert advice helps even the experienced get it right. Avoiding mistakes ensures a clean, strong bond, making projects better.
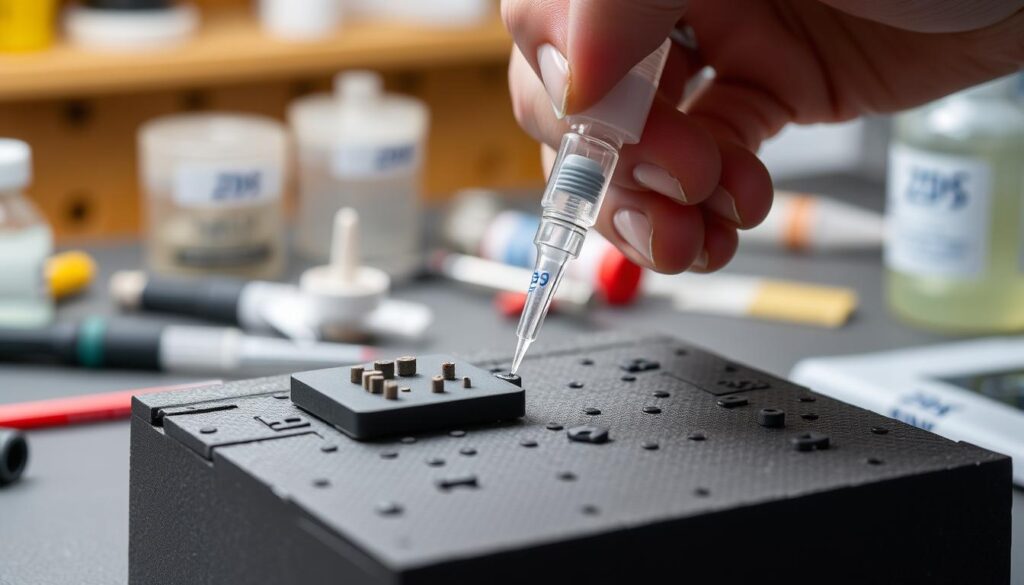
Mistakes to Avoid
Making mistakes with cyanoacrylate glue can ruin your work:
- Applying Too Much Pressure: This leads to messy spills and a weaker bond.
- Skipping Surface Preparation: Not cleaning surfaces means the glue won’t stick well.
- Insufficient Setting Time: Moving parts too soon weakens bonds.
Remember these tips for precise, effective use of cyanoacrylate adhesive in all your projects.
Post-Application Care
Taking care of your project after using cyanoacrylate glue is key to its success. Doing so ensures the bond will be strong and last long.
Allowing Proper Drying Time
It’s vital to know how long your glue takes to dry. Drying times vary depending on the material and the surroundings. Make sure the glue sets fully by not moving the pieces prematurely.
| Material | Approximate Drying Time |
|---|---|
| Plastic | 10-20 seconds |
| Metal | 20-30 seconds |
| Wood | 30-60 seconds |
| Rubber | 5-10 seconds |
Cleaning Up Excess Glue
Removing extra glue requires careful attention but ensures a clean look. Use acetone for tough spots, but gently to avoid damage. For more sensitive materials, try isopropyl alcohol instead.
Common Challenges and Solutions
Using cyanoacrylate glue comes with unique challenges. One issue is blooming, where a white residue surrounds the bond area. This happens when excess glue interacts with moisture.
To avoid blooming, it’s key to know how to accurately use cyanoacrylate glue. Make sure the surfaces are clean and dry before application. Using an accelerator can also quicken the setting time and lower blooming chances.
Bonding certain plastics can also be tough. Some plastics have surfaces that repel glue. Using a primer designed for cyanoacrylate glue can help. Putting primer on before the glue strengthens the bond.
Here’s a quick reference table on common challenges and their solutions:
| Challenge | Solution |
|---|---|
| Blooming | Clean surfaces thoroughly, use an accelerator |
| Plastic Bonding | Apply a primer before the glue |
| Excess Glue | Use a fine-tip nozzle for how to use cyanoacrylate glue accurately |
Knowing these challenges and solutions makes for better glue application. Always stick to proper procedures and keep glue batches separate to avoid contamination. For detailed guidance on using cyanoacrylcate glue, check out this comprehensive guide.
DIY Projects and Cyanoacrylate Glue
Using cyanoacrylate glue in DIY projects boosts their strength and durability. It’s great for both small home fixes and big crafting projects. Super glue gives a dependable and professional outcome.
Home Repairs
For home repair with super glue, cyanoacrylate glue is versatile. You can repair ceramics, fix furniture, or secure tiles. Using the right glue makes your repairs last longer. Here’s a guide to help pick the best glue for home repairs.
Crafting Projects
Cyanoacrylate glue is perfect for crafting, offering endless possibilities. It’s used in jewelry making and model building. This glue is quick to dry and works in many ways. When crafting with cyanoacrylate glue, following application tips is key.
Conclusion
Using cyanoacrylate glue correctly involves several key steps. First, know the glue’s properties and get your workspace ready. To apply the glue well, clean the surface and arrange your tools for a smooth workflow.
It’s vital to follow the best practices for a strong bond. Choose the right glue, use fine tips for precise application, and spread the glue evenly. Also, let it dry well and clean any extra glue to keep the bond strong.
Sometimes, applying the adhesive can be tricky. But the tips in this article will help you fix any problems. These guidelines will improve your skills, whether for home repairs or crafts. For more tips, check out our guide on mastering adhesive application at ZDS™. With these suggestions, you’ll tackle your projects with confidence and accuracy.
FAQ
What are tips for applying cyanoacrylate glue precisely?
Use a fine-tip nozzle for better control. Apply glue in small amounts for an even spread. Pick the right glue type and prepare your space for accurate use.
What is Cyanoacrylate Glue?
A: Cyanoacrylate glue, or super glue, quick-bonds due to a chemical reaction with moisture. It’s great for many types of projects thanks to its different viscosities.
What are common uses of cyanoacrylate glue?
This glue fixes broken stuff, helps in crafts, and minor home fixes. Its fast bonding makes it excellent for many uses.
How should I prepare my workspace for applying cyanoacrylate glue?
Clean bonding surfaces with alcohol to remove oil and dirt. Set up your tools, including tweezers and nozzles, for precise application.
How do I select the right cyanoacrylate glue for my task?
Look at the glue’s viscosity and dry time. Quick tasks fit thin, fast-glue. Gel glues work better for bigger jobs.
What application techniques ensure precision with cyanoacrylate glue?
Applying with a fine-tip nozzle helps manage the amount. This method avoids mess and ensures a strong bond. Aim for a professional finish using these tricks.
What are common mistakes to avoid when using cyanoacrylate glue?
Don’t use too much glue or squeeze hard, leading to spills. Wait enough for it to set. Avoiding these mistakes helps prevent issues.
How do I allow proper drying time for cyanoacrylate glue?
Follow the glue brand’s setting time. Holding parts together briefly helps it bond. Full strength may take up to a day.
How do I clean up excess cyanoacrylate glue?
Clean spills with acetone or a remover. For skin, soak in warm, soapy water then gently remove the glue.
What are common challenges and solutions when using cyanoacrylate glue?
White residue, or blooming, can be fixed with the right activator. For hard-to-bond plastics, use a specific type of glue.
How can cyanoacrylate glue be used in DIY projects?
Great for fixing or creating, use it on home repairs or jewelry. Cyanoacrylate glue is perfect for many DIY tasks.

