Contact

Tel: 86-755-84875752
Fax: 86-755-84875750

Address

4F,Longyuntong Building, No. 164-5 Pengda Road, Longgang District, Shenzhen

Crafting Elegance in Your Garage: How to Begin Building Your Own Resin River Table

how to begin building your own resin river table a
Picture of ZDS™
ZDS™

Chemical

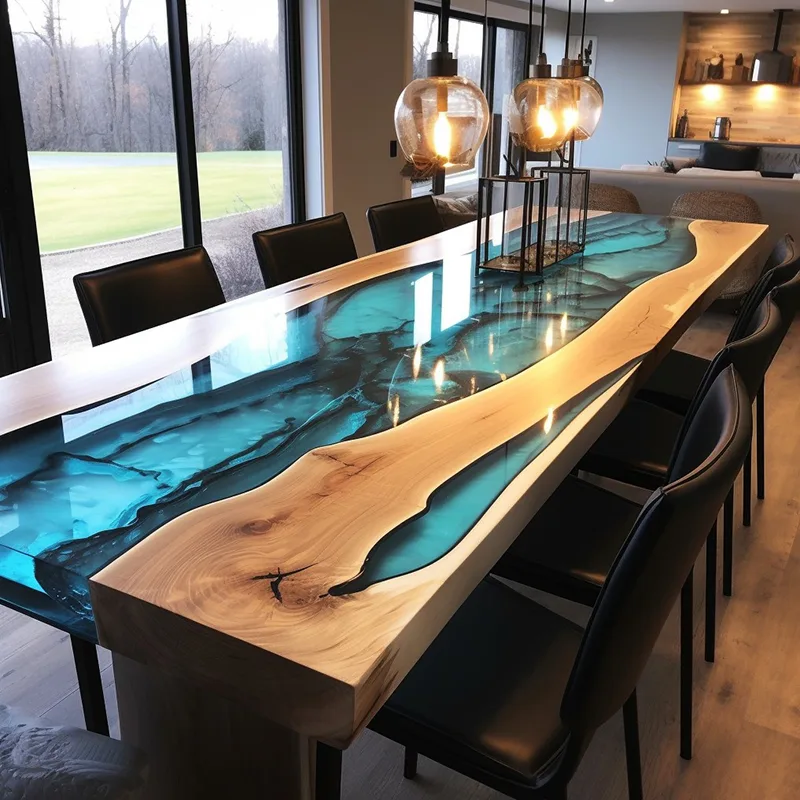
Are you fascinated by the sleek, modern aesthetic of epoxy resin river tables? With a surge in popularity, these stunning pieces have become a coveted item in contemporary interior design. The good news is that creating an epoxy resin river table can be a fulfilling DIY project. Here at ZDS™, a high-quality epoxy resin factory offering wholesale and custom services, we’re excited to guide you through beginning your journey of crafting a resin table right in your garage.

Step 1: Gather Your Materials and Tools

To start, you’ll need to secure all necessary materials:
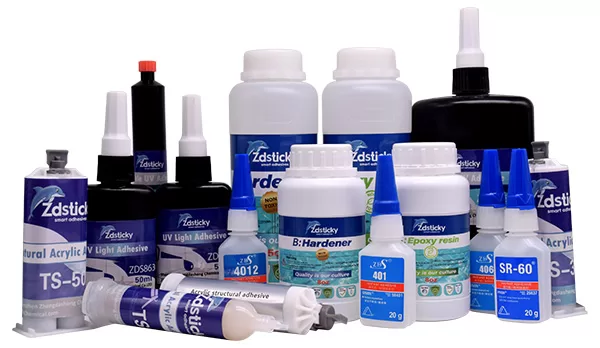
  • High-quality epoxy resin from ZDS™
  • Hardwood slabs for the tabletop
  • Silicone for molds
  • Coloring agents (optional)
  • Sandpaper, from coarse to fine grit
  • A blowtorch or heat gun
  • Sealant for the wood
And tools:
  • Clamps
  • A planer or sander
  • A router
  • Brushes and mixing tools

Step 2: Design Your Masterpiece

Before you mix any epoxy, plan out the design of your river table. Consider the size, the type of wood, and the color of the resin. Do you want a tranquil blue resembling water, or perhaps a striking metallic hue?

Step 3: Prepare the Wood

Once you’ve settled on your design, it’s time to prepare the wood. This means sanding down the surfaces, ensuring they are level and free of any debris. Then, use a sealant to prevent resin from seeping into the wood grain.

Step 4: Create the Mold

Using silicone and a sturdy base, create a mold that matches the dimensions of your intended table. Ensure it’s sealed tightly so the resin won’t leak.

Step 5: Mixing and Pouring the Resin

Now, the exciting part—mixing the epoxy resin! Follow ZDS™’s instructions carefully for the best results. If you’re adding color, now’s the time to do so. Once ready, pour the resin into the mold, between the wooden slabs, filling it to the desired thickness. Use a blowtorch or heat gun to remove any bubbles.

Step 6: Curing and Demolding

Patience is key. Allow the resin to cure as per the manufacturer’s recommendations. After it has fully cured, carefully remove the table from the mold.

Step 7: Finishing Touches

Sand the table to a smooth finish, starting with coarser grits and working your way to finer ones. Apply a final sealant or varnish to protect both the wood and the resin from scratches and wear.

Find Epoxy Resin River Tables Near You
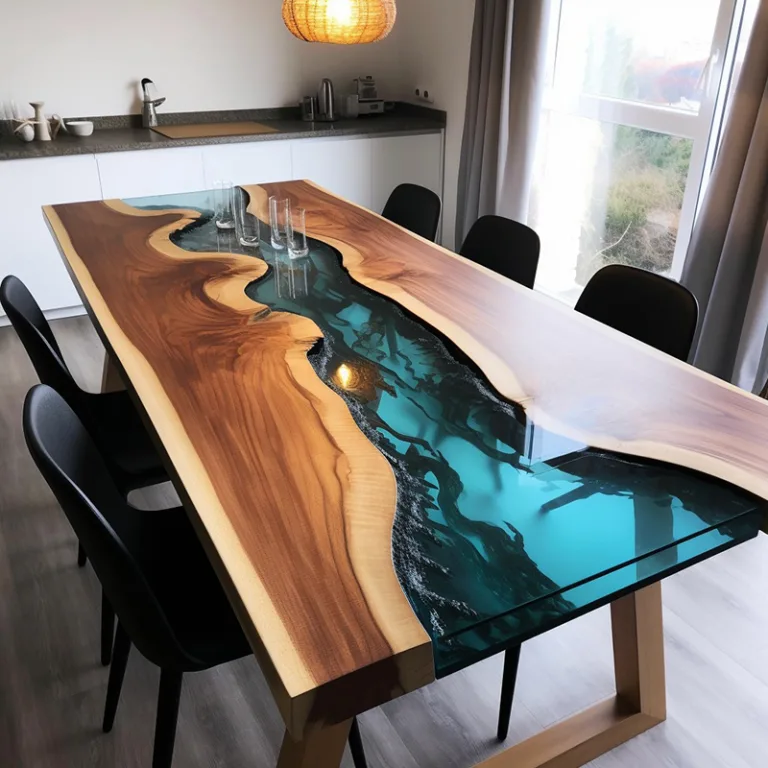
If you’re not ready to dive into DIY just yet, ZDS™ has got you covered. We offer beautifully handcrafted epoxy resin river tables for sale. Our creations span a range of styles and preferences, ensuring you find the best epoxy resin river table to accentuate your space. Search for “epoxy resin river tables near me” to discover our latest collection available for purchase.
how to begin building your own resin river table c

Conclusion

Building an epoxy resin river table in your garage can be an immensely rewarding endeavor. With the right supplies from ZDS™ and a splash of creativity, you can create a unique piece that captivates attention and stands as a testament to your craftsmanship. Whether you choose to venture into making your own or wish to acquire one of the expertly crafted tables for sale, epoxy resin river tables are more than furniture—they’re a statement.

For those inspired to embark on their creative journey or anyone interested in purchasing a finished table, visit ZDS™ for the highest quality epoxy resin on the market. Happy crafting!

You might also enjoy

Are you looking for suppliers? Please leave your contact information and we will provide a free test sample.

Scroll to Top
Get Free Sample Testing!

Look out for emails from @zdschemical.com.