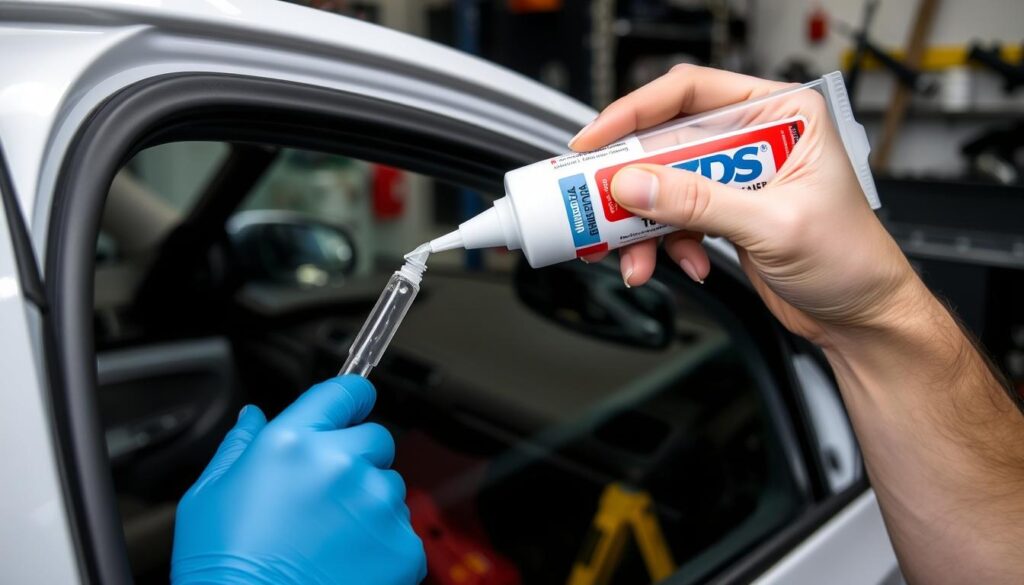
Applying the right automotive window adhesive is key. It greatly impacts your vehicle’s glass safety and durability. Whether replacing a windshield or fixing a side window, proper techniques and materials are crucial.
They ensure the glass sticks well and lasts long. In this guide, we’ll show you the essential steps and tips. You’ll learn how to avoid mistakes and get professional results.
Getting the correct auto glass adhesive and applying it correctly matters. Understanding these steps is important. By following our detailed instructions, you can keep your vehicle’s glass looking good and strong. You’ll find out how to apply adhesive for both safety and lasting quality.
Key Takeaways
- Proper application of automotive window adhesive is vital for vehicle safety and glass longevity.
- Following car window sealant instructions accurately can prevent leaks and ensure a secure fit.
- Selecting the right auto glass adhesive is essential for optimal results.
- Thorough preparation, including cleaning and masking, is necessary before applying adhesive.
- Avoid common mistakes like overlooking surface preparation and choosing the wrong adhesive type.
Understanding Automotive Window Adhesive
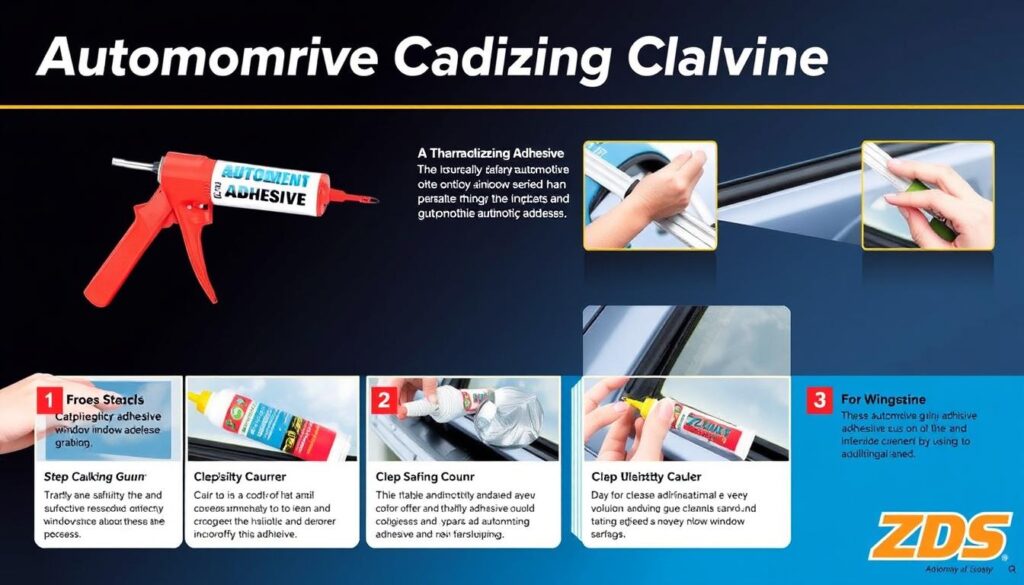
Automotive window adhesive is key for firmly fixing auto glass. In our automotive glazing adhesive guide, we explore the adhesive types and uses. They’re vital for car maintenance and repair.
What is Automotive Window Adhesive?
It’s a special glue that sticks glass to a car’s body. It must be strong to handle shakes, heat changes, and hits. Knowing how to apply this glue is crucial for a car’s strength and safety, which is why learning about vehicle windshield adhesive methods is important for experts and hobbyists alike.
Common Types of Window Adhesives
Different adhesives are used in car windows, each with its own use. The main kinds are:
- Butyl Adhesives: These are flexible and keep out water, making them good for quick fixes or old cars. But, they might not support the car’s structure as well as others.
- Urethane Adhesives: Used in new cars, they bond strongly and help keep the car safe. Urethane is great for making the car’s frame more solid.
- Silicone-Based Adhesives: Known for lasting a long time and handling extreme temperatures. Silicone is not as common as urethane but works well for specific needs.
Here’s a side-by-side look at these adhesives:
| Adhesive Type | Key Properties | Common Uses |
|---|---|---|
| Butyl | Flexible, Water-resistant | Temporary fixes, older models |
| Urethane | Strong Bonding, Structural Support | Modern vehicles, enhanced safety |
| Silicone-Based | Durable, Temperature Resistant | Specialized applications |
Preparing Your Vehicle for Window Adhesive Application
Getting your vehicle ready is crucial for a good windshield adhesive job. Cleaning the window and prepping the area well ensures strong glass bonding. This makes the installation work better.
Cleaning the Window Surface
To start, cleaning the window surface is key. Get rid of old adhesive, dust, and dirt for a tight bond. Start with a glass cleaner to remove surface dirt. Then, use a razor blade scraper for tough adhesive spots. Finish with an alcohol-based cleaner to take away grease or residue that could weaken the bond.
Masking and Prepping the Work Area
Next, mask and prep the area around the window. This helps prevent damage and makes cleaning up easier. Use strong masking tape around the window’s edges to keep the paint and trim safe. Also, lay drop cloths over any interior areas to protect them from sticky adhesive. This step is key due to the strong nature of the adhesive. After masking, make sure all tools for installing the windshield adhesive are close by. This helps make the installation smoother.
Choosing the Right Adhesive for Your Vehicle
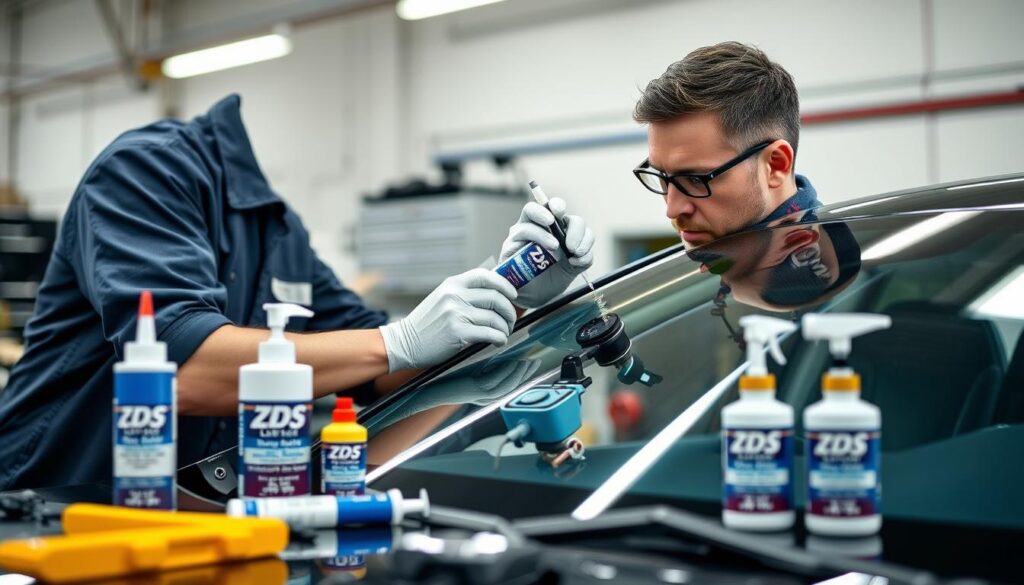
Finding the right adhesive for your car window is key for a tight and lasting fit. There are several things to consider to find the best one for you.
Factors to Consider
When picking an adhesive for your car, you need to think about a few important things:
- Material Compatibility: The adhesive must stick well to both the window and the car’s frame.
- Environmental Conditions: The weather and temperature changes can impact how well the adhesive works. Think about where your car will mostly be.
- Strength and Durability: Adhesives vary in how strong and durable they are. Pick one that can handle the demands of your car.
The process of applying auto glass adhesive should consider these points for safety and long-term use.
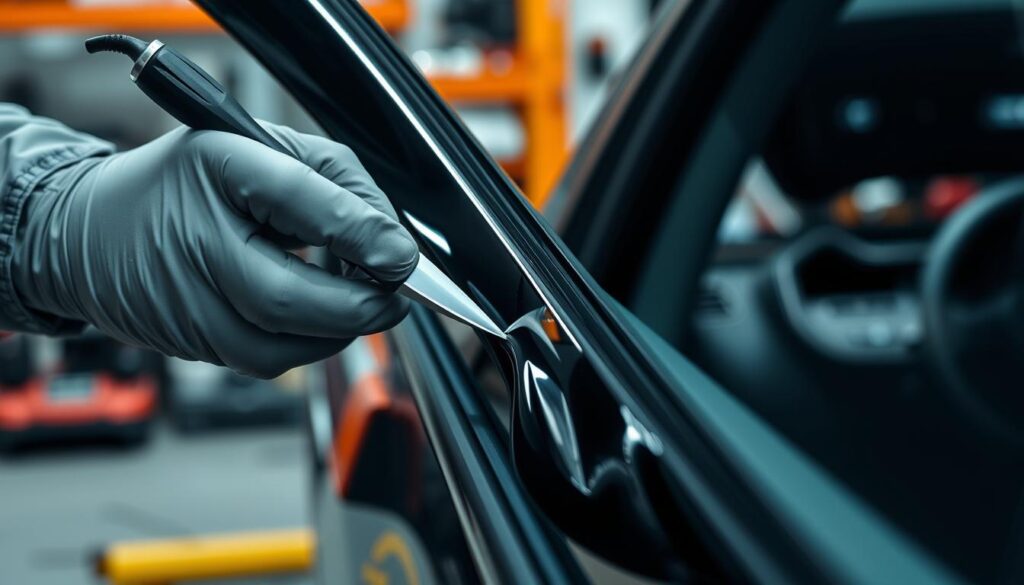
Top Brands in the Market
Going for a well-known brand can really help with your car window adhesive job. Here are some leading names with quality products:
- 3M: Known for their strong adhesives, 3M has options great for fixing car windows.
- Loctite: A trusted name, Loctite offers long-lasting solutions for your auto glass needs.
- Permatex: Praised for reliability, Permatex is a favorite among those in the know.
- Gorilla Glue: For a tough solution, Gorilla Glue’s products work well in cars too.
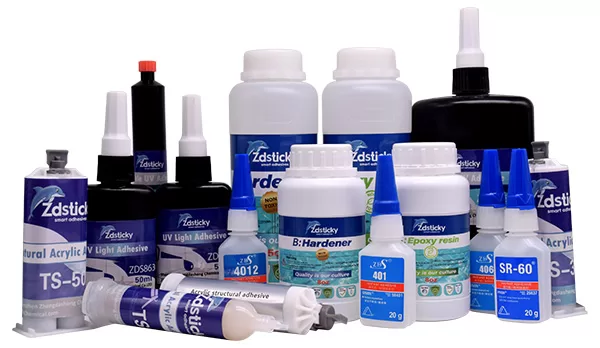
If you’re looking for something more specific, brands like ZDS™ are also worth considering, backed by expert and consumer support.
How to Apply Automotive Window Adhesive
Getting the application of automotive window adhesive right is crucial for a strong, airtight seal. By using our car window sealant instructions, both hobbyists and experts can get great results. We’ll guide you through the steps to effectively use how to apply automotive window adhesive.
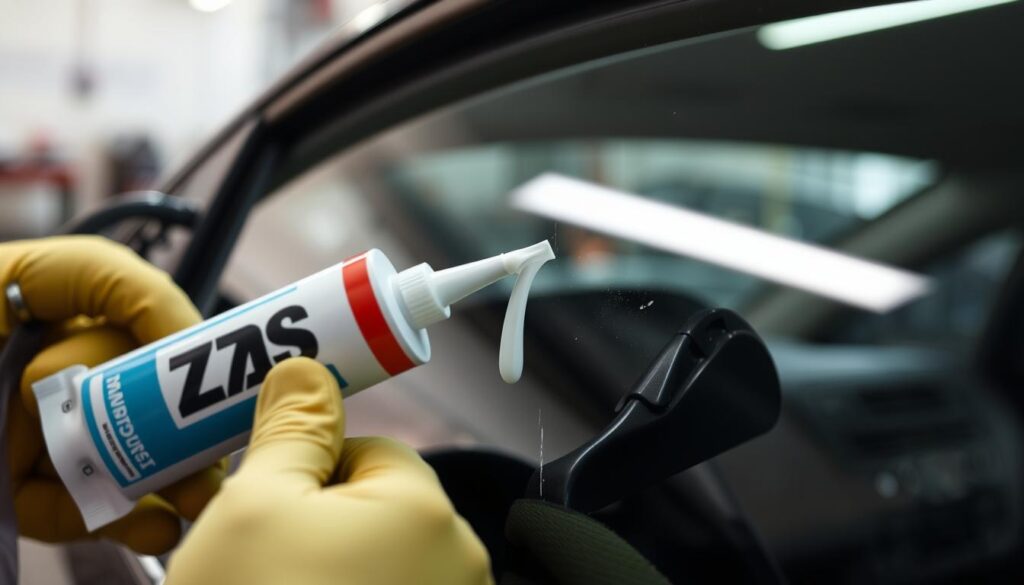
- Prepare the Surface: Start by cleaning the window and its surrounding area thoroughly. This ensures a solid bond.
- Mask Surrounding Areas: Protect areas around the window with masking tape. This stops the adhesive from spreading where it’s not needed.
- Apply the Adhesive: With a caulking gun, evenly apply the adhesive around the window’s edge. Be sure to follow the car window sealant instructions for the best outcome.
- Install the Window: Carefully set the window against the adhesive and press firmly. Keep it in place until the adhesive begins to hold.
- Allow Adequate Curing Time: Check the adhesive’s instructions for how long it needs to cure. This is important for a secure and lasting bond.
Learning how to apply automotive window adhesive correctly is key for a professional look and lasting durability of your vehicle’s windows. Follow these steps and the car window sealant instructions closely for a job well done.
| Step | Description | Key Points |
|---|---|---|
| 1. Prepare the Surface | Ensure window and surrounding areas are clean | Cleanliness is crucial for a strong bond |
| 2. Mask Surrounding Areas | Use masking tape to protect surfaces | Prevents adhesive spread |
| 3. Apply the Adhesive | Evenly apply adhesive with a caulking gun | Follow manufacturer’s instructions |
| 4. Install the Window | Place window on adhesive and press firmly | Ensure proper contact |
| 5. Allow Adequate Curing Time | Follow adhesive’s curing time recommendations | Ensures a durable bond |
Step-by-Step Guide to Automotive Window Adhesive Application
A successful windshield glue job needs knowing the steps and having the tools. We offer a guide for great results, for DIY or understanding car glass bonding.
Gathering Essential Tools and Materials
To start the windshield glue job, collect all you need. This list helps:
- High-performance automotive glass adhesive
- Caulking gun
- Glass cleaner and lint-free cloths
- Masking tape
- Nitrile gloves for protection
- A scraper or razor blade
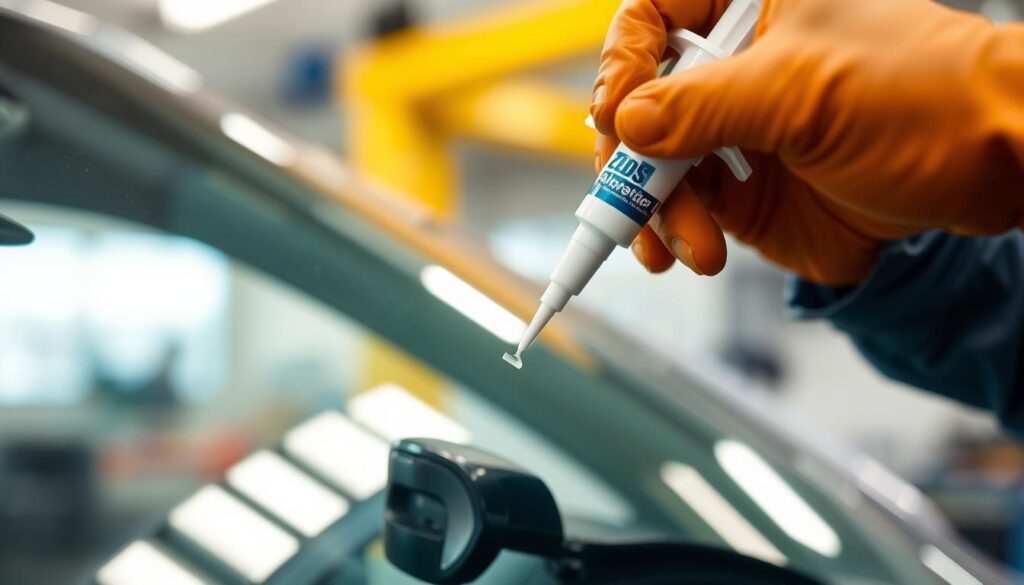
Applying the Adhesive
To bond car glass, start with applying glue right. Clean the glass well with cleaner and cloth. The surface must be free of stuff and dry. Masking tape keeps the area clean and glue where it should be.
- Put the glue in the caulking gun.
- Lay a smooth line of glue around the window edge.
- Keep out air bubbles for a good bond.
Ensuring Proper Bonding and Fit
It’s key to make sure the glass sticks right and fits. Push the glass into the glue, pressing all around. This way, the glue spreads right and sticks well.
Follow ZDS™ tips for how long the glue should dry. Let the glue set fully before using the car. This makes sure the glass won’t move.
Common Mistakes to Avoid When Applying Window Adhesive
It’s crucial to apply adhesives correctly for a lasting bond and to avoid problems later. We’ll look at some mistakes made during the automotive window adhesive application process.
Overlooking Surface Preparation
Skipping proper surface prep is a big mistake. Before you begin the auto glass adhesive application process, make sure the surface is clean and dry. Leftover dirt, moisture, or residue weakens the bond, leading to leaks or full failure. A clean surface means a stronger bond.
Using the Wrong Type of Adhesive
Choosing the wrong adhesive causes problems. Different tasks need different adhesives. Picking the wrong one can lead to failure. Know whether to use acrylic, epoxy, polyurethane, or silicone depending on your materials.
For instance, polyurethane is great for flexible, vibration-prone surfaces due to its strength. But you might need epoxy for solid structural bonds. Big brands like 3M, Permatex, and Loctite have a variety of adhesives for these needs.
| Adhesive Type | Best Suited For | Top Brands |
|---|---|---|
| Polyurethane | Flexible and vibration-prone surfaces | 3M, Permatex, Loctite |
| Epoxy | Strong structural bonds | 3M, Loctite |
| Silicone | High-temperature resistance | Permatex, AES Industries |
| Acrylic | General-purpose repairs | ZDS™ |
By knowing these differences, we can skip these common errors. This way, our automotive window adhesive application will be successful and long-lasting.
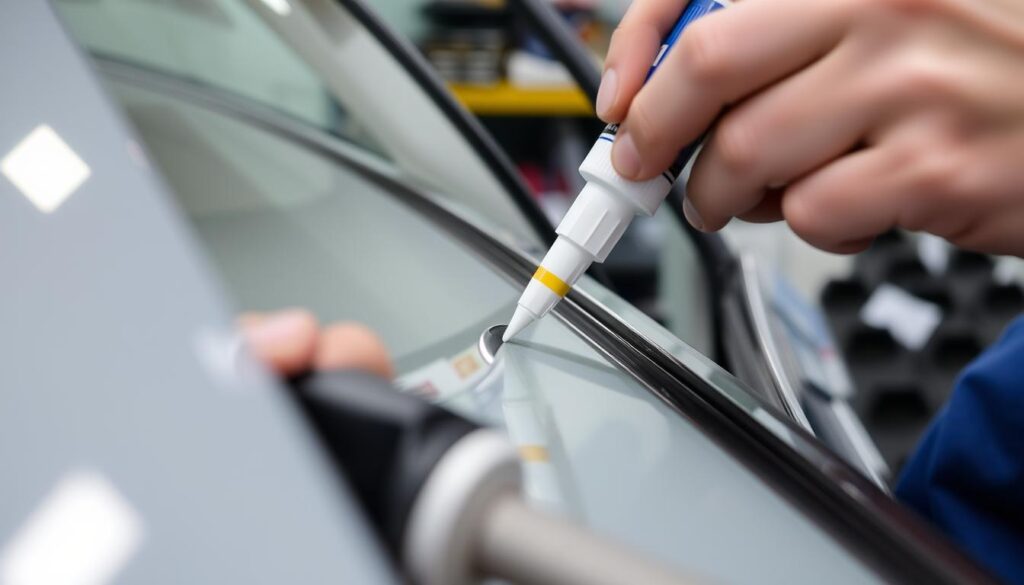
Window Urethane Adhesive Application Tips
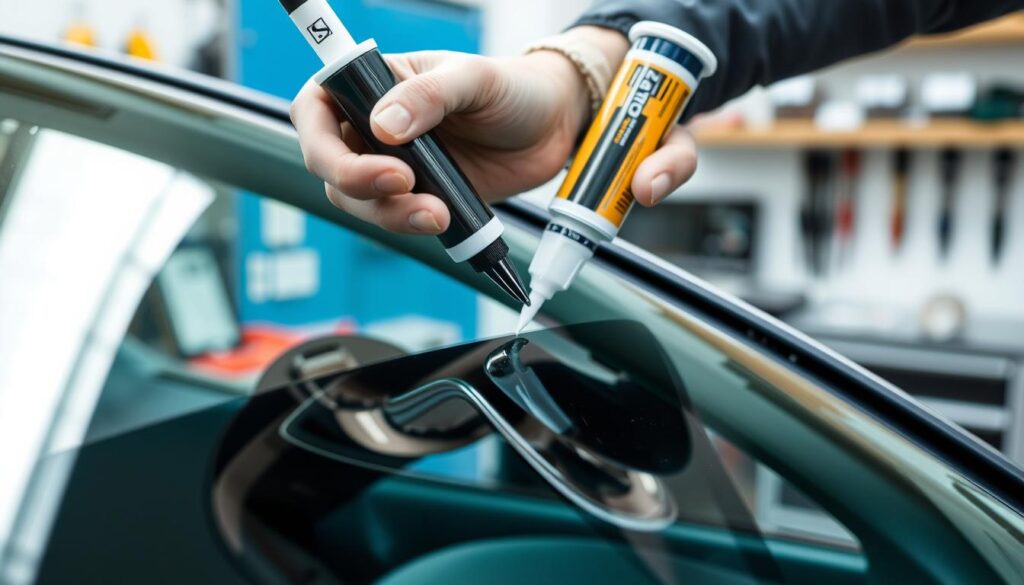
Correctly applying window urethane adhesive is key for a strong bond and durability. We’ll offer tips for a successful application, highlighting how temperature and humidity affect the outcome.
Temperature and Humidity Considerations
The success of window urethane adhesive heavily relies on temperature and humidity. It works best between 60°F and 77°F. Outside this range, curing times differ and bonding capability may decrease.
- Temperature: Check the temperature is in the recommended range before beginning. Extreme temperatures impact curing negatively.
- Humidity: High humidity slows curing, while low humidity speeds it up too much.
Always look at the manufacturer’s guidelines for the best conditions. For detailed product information, visit trusted sources like ZDS™.
Optimal Cure Times
It’s vital to know the optimal cure times for effective application. Cure times can change based on the environment and adhesive type. Stick to the instructions for a strong bond.
Here’s a table for quick reference on cure times depending on different conditions:
| Temperature (°F) | Humidity Level | Cure Time |
|---|---|---|
| 60°F – 77°F | 50% – 60% | 24 – 30 hours |
| Below 60°F | Above 60% | 30 – 48 hours |
| Above 77°F | Below 50% | 18 – 24 hours |
By following these tips and directions, you can achieve the best results with your automotive adhesive. This leads to repairs and installations that last longer.
Vehicle Glass Bonding Techniques
Learning different vehicle glass bonding techniques is key for a secure and lasting fit. It’s important to choose the right bead size and pattern when applying adhesive. Every step, from prep to final application, needs precision to make the bond strong and durable.
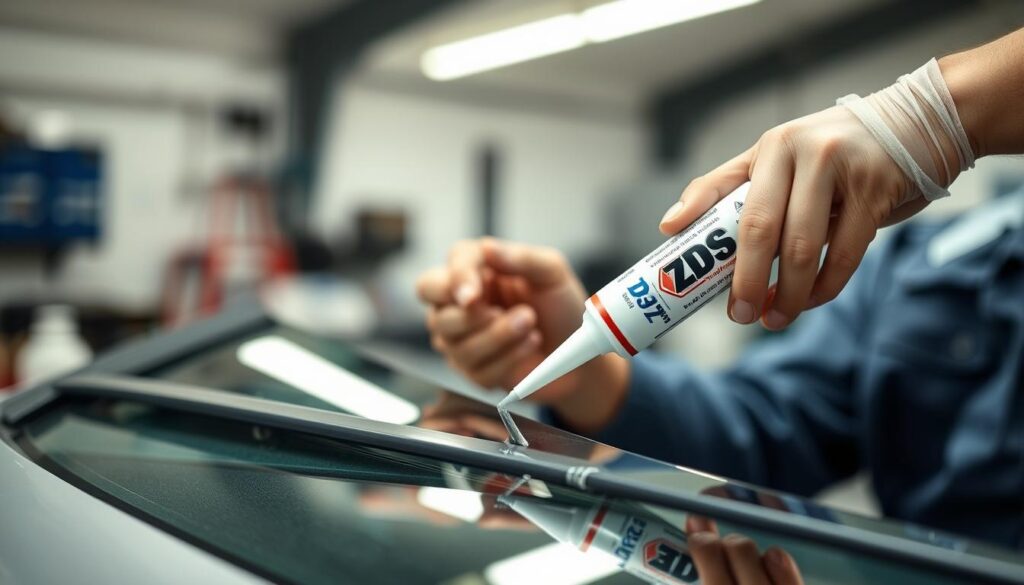
Before we get into how to apply automotive window adhesive, let’s look at the differences between techniques. Different vehicles and glass types need different methods. Using the right methods and materials makes the adhesive work better.
- Bead Size: The adhesive bead’s size affects how well it bonds. A consistent size means the adhesive spreads evenly and sticks well.
- Bead Pattern: A continuous flow pattern helps seal everything and reduces air pockets. This is important for keeping the bond strong over time.
Following the Auto Glass Safety Council’s (AGSC) recommendations is a good practice. The AGSC talks about the importance of the right application environment. The right temperature and humidity matter for the best adhesive results.
| Technique | Description | Advantages |
|---|---|---|
| Continuous Bead | A single, unbroken line of adhesive applied uniformly. | Maximizes seal integrity; reduces air pockets. |
| Modified Bead | Customized pattern based on glass and vehicle specifications. | Enhanced bonding strength; tailored fit. |
Knowing how to apply automotive window adhesive and using these methods improves glass bonding. Choosing the right technique for each job ensures the glass is strong and lasts long. This makes the vehicle safer and more durable.
Maintaining Your Automotive Window Adhesive
Taking care of your car’s windows is crucial for their longevity and your safety. Inspecting the adhesive regularly helps keep the windows in place. Knowing how to fix and apply adhesive can save you time and avoid problems later.
Regular Inspections
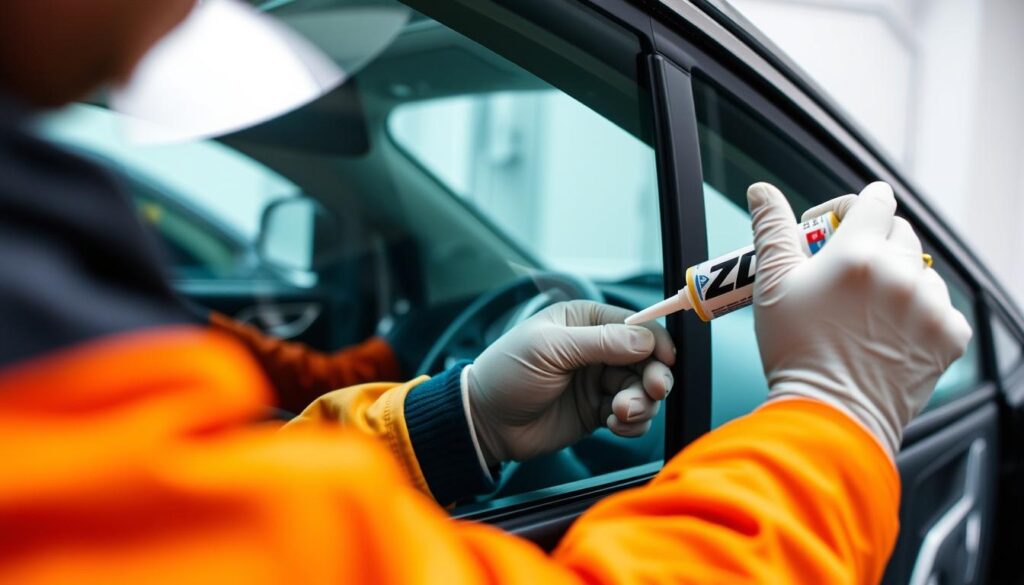
Checking your window adhesive often is important. Look for cracks, gaps, or color changes around the edges. These signs might mean the adhesive isn’t working well anymore. Starting with the right methods for applying adhesive can help avoid these issues. But, it’s still important to keep an eye on it.
Repairing and Reapplying Adhesive
If you find any issues, fixing them quickly is key. First, clean the area well to get rid of any dirt or old adhesive. Then, apply new adhesive the right way to make sure it sticks. If the damage is bad, getting help from a pro might be the best choice.
Conclusion
We explored how to apply automotive window adhesive in this guide. We covered what it is, how to pick materials, and how to prep your vehicle. We showed you every step needed for a successful windshield adhesive job. From cleaning the window to getting the right tools, each step is key.
Applying it right is very important for your car’s glass safety and life. Missing a step or using the wrong adhesive can cause big problems. So, following our guide ensures your windshield is installed strongly and lasts long.
If you want the best adhesive, consider ZDS™ adhesives. They are known for their strength and are made for any car glass job. With our instructions and ZDS™ adhesives, you’ll be sure to do the job well.
FAQ
What is Automotive Window Adhesive?
Automotive window adhesive is a type of glue used for car glass. It sticks windshields and side windows to the car. It gives a strong, leak-proof seal. This keeps you safe and makes your car sturdy.
What are the Common Types of Window Adhesives?
Common window adhesives are urethane, silicone-based, and butyl. Urethane bonds strongly and lasts through different weathers. Silicone-based adhesives are flexible. Butyl adhesives are easy to use and cheap.
How Should I Clean the Window Surface Before Application?
Clean the window well with glass cleaner or alcohol. Remove old glue and dirt with a scraper. Make sure it’s dry before adding new adhesive.
How Do I Mask and Prep the Work Area?
Use tape around the window frame to avoid paint damage. Cover the car inside and out to keep it clean while you work.
What Factors Should I Consider When Choosing an Adhesive?
Think about your car type, the glass part, and the weather. The glue must suit your car and withstand temperature changes and sun exposure. Check what the manufacturer recommends for the best results.
What Are Some Top Brands of Automotive Window Adhesives?
Well-known brands include 3M™, Sika®, Dow Automotive Systems, and ZDS™. They provide reliable adhesives that meet high standards.
How Can I Apply Automotive Window Adhesive?
Get a caulking gun, nozzles, and cleaner ready. Put a steady line of adhesive on the frame, set the glass, and press it in. Follow the curing instructions carefully. Don’t drive the car until it’s set.
What Tools and Materials Do I Need for Automotive Window Adhesive Application?
You’ll need a caulking gun, adhesive cartridges, nozzles, cleaner, primer (sometimes), and masking tape. A scraper is handy for old glue. Wear gloves and safety glasses for protection.
How Do I Ensure Proper Bonding and Fit?
Apply the adhesive evenly and cover the bonding area well. Make sure the glass is positioned right. A bad fit can weaken the seal. Let it cure as long as the maker says.
What Common Mistakes Should I Avoid?
Don’t mess up the surface prep, use the wrong adhesive, or apply in bad weather. These errors can cause the glass to bond poorly or leak.
How Do Temperature and Humidity Affect Adhesive Application?
Temperature and humidity change how well the adhesive works and dries. Follow the manufacturer’s recommended temperature. High humidity can slow drying. Low humidity can speed it up, which might mess up the bond.
How Can I Maintain My Automotive Window Adhesive?
Check the adhesive often for damage. Fix small issues with the right adhesive. For big ones, take out the old adhesive and reapply correctly to keep the bond strong.


