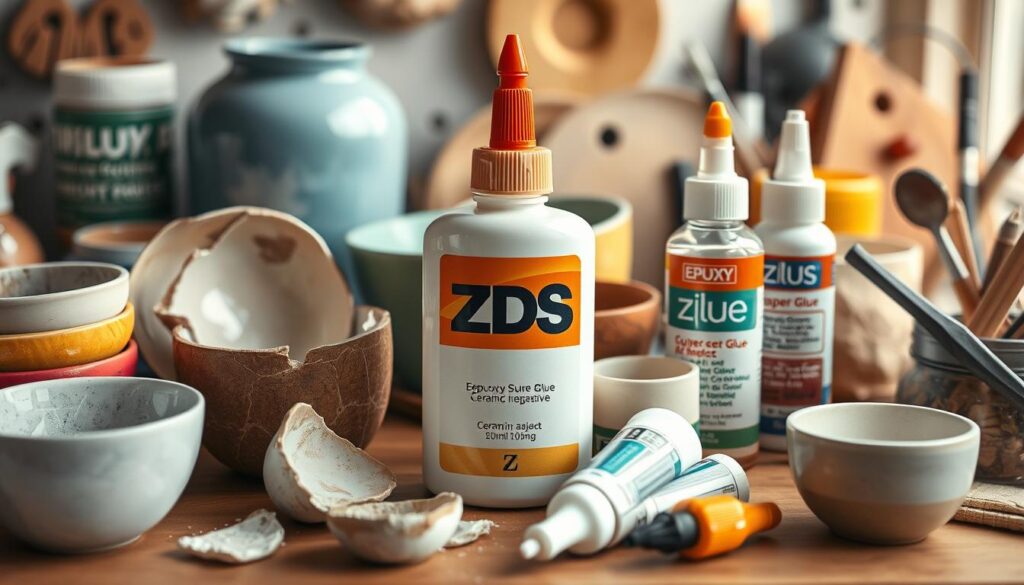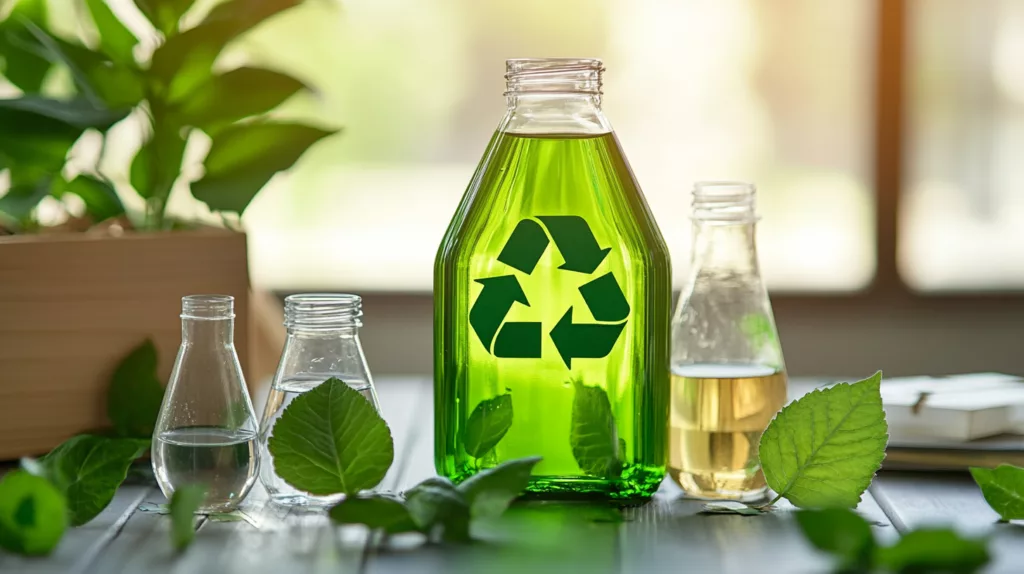
Choosing the right glue for ceramic projects is crucial. It can turn a simple fix into a beautiful repair. Whether it’s fixing a favorite mug or restoring pottery, the right adhesive makes all the difference. This guide will cover the basics of ceramic adhesives and introduce you to ZDS™ products. They are known for their quality and versatility.
Key Takeaways
- Understanding the importance of choosing the right ceramic adhesive.
- Different types of glues are suitable for various ceramic projects.
- A proper bond enhances both durability and appearance.
- ZDS™ offers reliable ceramic adhesives for a range of applications.
- Always prioritize food safe glues for kitchenware repairs.
Introduction
Fixing broken ceramics can be tough. These items often have special meaning and are very delicate. They need careful repair.
Ceramic glue is a key solution for many. It helps fix broken items. But, picking the right glue can be hard with so many options.

It’s important to know the different ceramic glues and what they’re for. Some are for small fixes, while others are for bigger projects. It’s also key to find food safe ceramic glue for items used with food.
If you’re doing DIY or professional repairs, knowing what each glue can do is vital. This guide will help you find the best glue for ceramics for your needs.
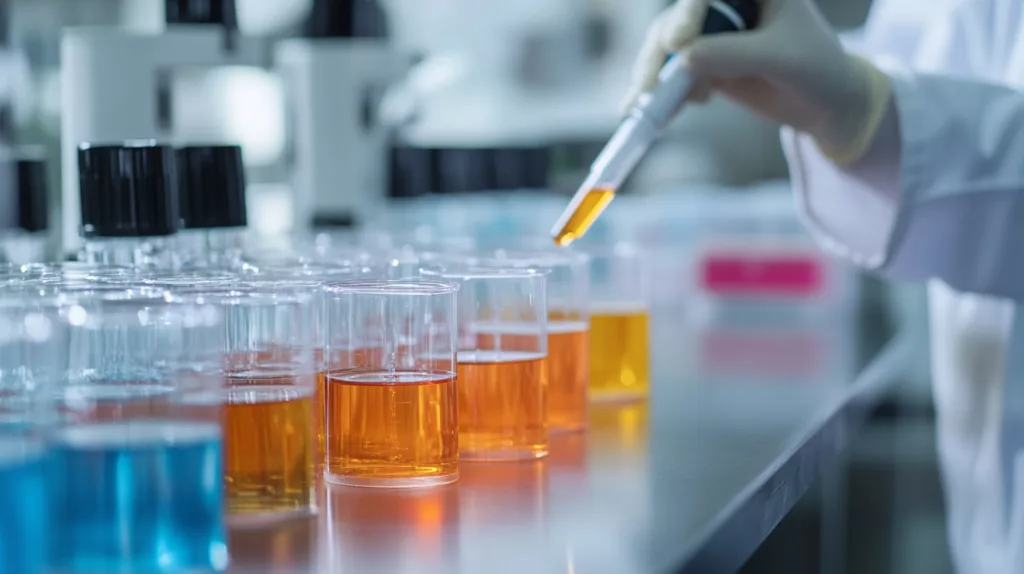
Types of Ceramic Glue
Ceramic glues come in different types for various repair needs. Knowing their unique properties helps you pick the best one for your task.

- Super Glue for Ceramic: This glue bonds quickly and is great for small repairs. It’s not made for high heat but is easy to apply.
- Loctite Ceramic Glue: Loctite’s ceramic glue offers a strong bond and lasts long. It works well indoors and outdoors, making it versatile for many repairs.
- Pottery Glue Food Safe: For pottery that will touch food, use a food-safe glue. These glues handle moisture and heat and are safe for home use.
- ZDS™ adhesive: For pottery that will touch food, use a food-safe glue.
The table below shows key features of these ceramic glues:
| Glue Type | Bonding Strength | Flexibility | Curing Time | Food Safe |
|---|---|---|---|---|
| Super Glue for Ceramic | High | Low | Seconds to Minutes | No |
| Loctite Ceramic Glue | Very High | Moderate | 10-20 Minutes | Varies by Product |
| Pottery Glue Food Safe | High | High | Varies | Yes |
| ZDS™ adhesive | High | High | 5-10 Minutes | Yes |
When picking ceramic glue, think about your project’s needs. Consider the items you’re fixing and if they’ll be near food or water. This ensures a good and safe fix.
Choosing the Right Glue for Your Ceramic Project
Choosing the best glue for ceramic repairs means looking at a few key things. First, think about the weight and size of the ceramic pieces you’re fixing. Lighter items, like small figurines, need a special adhesive. Heavier things, like big vases, might need something stronger.
Also, think about how the ceramic will be used. If it’s for dishes, you need a food safe adhesive for ceramic. This keeps your food safe from harmful chemicals. For example, if fixing a best glue for ceramic mug, make sure it’s safe for food to avoid any risks.

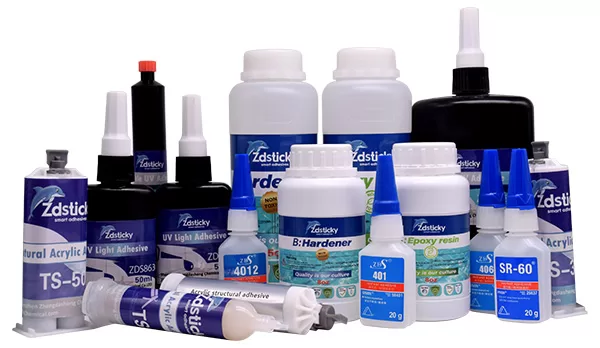
Experts from top brands can help you pick the right glue. ZDS™ has great adhesives for different ceramic projects. Here are some top picks:
| Type of Project | Recommended Glue | Key Features |
|---|---|---|
| Repairing Decorative Pieces | ZDS™ Super Ceramic Adhesive | Fast-drying, strong bond, clear finish |
| Mending Ceramic Mugs | ZDS™ Food Safe Epoxy | Non-toxic, withstands heat, dishwasher-safe |
| Fixing Large Ceramics | ZDS™ Heavy-Duty Ceramic Glue | High-strength bond, water-resistant |
Choosing the right glue is key for a strong and safe fix. Whether it’s a mug or a sculpture, the right glue matters. Always check the product details and reviews to find the best glue for ceramic repairs for your project.
How to Prepare Ceramics for Gluing
Getting your ceramics ready for gluing is key to a strong bond. Follow these steps to make sure your surfaces are perfect for bonding:
- Clean the Surfaces: Begin by cleaning both ceramic pieces well. Use a damp cloth and mild detergent to get rid of dirt, dust, or oil. This makes sure the glue sticks well.
- Dry Completely: After cleaning, make sure the surfaces are dry. Any leftover moisture can make the glue bond weaker.
- Create a Stable Work Environment: Work in a place that’s stable and well-ventilated. Keep the area dust-free to avoid problems with the glue.
- Score the Surface: Use fine-grit sandpaper to lightly roughen the surfaces where you’ll apply the glue. This helps the glue stick better.
- Test for Fit: Before you apply the glue, check if the ceramic pieces fit together right. This makes it easier to avoid problems when the glue sets.

Getting your ceramics ready is the first step to a successful glue project. By following these steps, you make sure your glue sticks well, creating a strong and lasting bond.
| Step | Action | Importance |
|---|---|---|
| Clean | Remove any contaminants | High |
| Dry | Ensure surfaces are completely dry | High |
| Stabilize | Work in a dust-free environment | Medium |
| Score | Roughen surfaces for better adhesion | High |
| Fit | Ensure pieces align properly | Medium |
By following these careful steps, you’re setting up the best conditions for strong and safe glue. This ensures a smooth and durable finish.
Application Techniques for Ceramic Glue
Getting ceramic glue right is key for a strong bond. Start by spreading the best glue to repair pottery evenly. This helps avoid air bubbles and gives a smooth finish.
- Preparation: Clean both surfaces well, removing dust or debris. Use a damp cloth and let it dry completely.
- Application: Put a thin layer of ceramic adhesive on both surfaces. Make sure to cover all bonding areas.
- Even Distribution: Use a small brush or spatula to spread the glue evenly. Don’t use too much, as it can weaken the bond or trap air.
- Clamping: Press the pieces together gently. Use clamps to keep them in place, ensuring a tight bond. Double-check alignment before the glue dries.
- Setting Time: Let the glue dry for the time on the product label. This time varies by the type of glue, including food safe ceramic glue.
- Finishing: After the glue dries, remove excess with fine-grit sandpaper. Make sure the surface is smooth.
Remember, common mistakes like not waiting long enough for the glue to set or rushing the clamping can weaken the repair. Always follow the manufacturer’s instructions and pick the right adhesive for your project.
Looking at different ceramic adhesives can help you pick the best one:
| Adhesive Type | Strength | Setting Time | Food Safe |
|---|---|---|---|
| Epoxy Resin | High | 24 hours | No |
| Polyurethane | Medium | 8 hours | Yes |
| Cyanoacrylate | Medium | Instant | No |
| Food Safe Ceramic Glue | High | 24 hours | Yes |
By following these tips and avoiding common mistakes, your ceramic projects will be beautifully and securely bonded.

Troubleshooting Common Issues with Ceramic Gluing
Working on ceramic projects can sometimes be tricky. You might face problems that make you frustrated and affect your results. Here’s how to tackle common gluing issues and get the best results.

Weak Bonds: A weak bond can ruin your project. To fix this, use the best adhesive for ceramic. Loctite ceramic glue is a top pick for its strong bonds. Also, clean the ceramic surfaces well before gluing to remove dust or oils that can weaken the bond.
Discoloration: Discoloration happens when too much glue dries on visible areas. To prevent this, apply the ceramic repair adhesive carefully and wipe away excess with a damp cloth right away. If discoloration happens, sand the area gently once the glue is dry.
Improper Setting: Bonds not setting right might be due to wrong application or environment. Always follow the loctite ceramic glue instructions for cure time. Also, avoid working in humid places, as it can harm the glue’s performance.
- Removing Excess Glue: Too much glue can look messy. Once dry, use a razor blade or fine sandpaper to remove it. For fresh spills, rubbing alcohol works well.
- Fixing Unset Bonds: If bonds don’t set, take apart the pieces and clean off old glue. Then, apply the best adhesive for ceramic again and press the pieces together firmly until it sets.
Preventive Tips: To avoid these problems, use the right amount of ceramic repair adhesive and work in a clean, dry place. Measure and place your pieces before gluing, and follow the adhesive’s curing time.
Safety and Cleanup
When working on ceramic projects, safety is crucial. Always work in a well-ventilated area. Wear gloves and safety goggles to protect yourself from fumes and accidental contact.
Proper storage of ceramic adhesives is essential. Keep them in a cool, dry place, away from sunlight. Make sure they are out of children and pets’ reach. Always check if the glue is food safe before use.
After finishing your project, start cleaning up. ZDS™ suggests using a damp cloth to remove excess glue. If it’s dried, use a plastic scraper or an adhesive remover. Always follow the manufacturer’s cleaning instructions for safety.

Dispose of ceramic adhesives correctly. Don’t pour them down the drain or in regular trash. Take them to a hazardous waste disposal facility instead. This protects the environment and community.
By following these safety and cleanup tips, you can have a successful and safe project every time.
Case Studies and Success Stories
Many real-life examples show how ZDS™ adhesive is the best for ceramic success. These stories prove the product’s effectiveness. They also offer insights into how both amateurs and professionals fix ceramics.
- Restoration of Antique Ceramics: A museum in New York had a problem. A valuable, antique vase was damaged. They used ZDS™ adhesive to fix it.
- Home Improvement Project: Many U.S. homeowners have praised ZDS™ adhesive for DIY repairs. One example is fixing a broken kitchen tile. The user cleaned it and applied ZDS™ adhesive for a strong bond.

| Project | Problem | Solution | Outcome |
|---|---|---|---|
| Antique Vase Restoration | Broken vase pieces | ZDS™ adhesive applied | Seamless, historical preservation |
| Kitchen Tile Repair | Cracked tile | ZDS™ adhesive used | Strong and durable bond achieved |
Users have a lot of faith in ZDS™ adhesive. One homeowner said, “I was worried about finding the best glue for ceramic success. ZDS™ adhesive exceeded my expectations, making my DIY project a breeze!” These stories show how the right adhesive can lead to great results.
Conclusion
Exploring ceramic adhesive solutions shows that picking the right glue is key for lasting results. Each adhesive has special features for different needs. Knowing the best options is crucial.
This guide on the best glue for ceramic summary helps you feel ready for ceramic repair tasks. It teaches you how to pick a reliable gluing method. This way, your projects will last and look great.
For your next project, check out ZDS™ ceramic adhesives. With the right tools and knowledge, you’re set to tackle any ceramic repair.
Having a good ceramic gluing solution is a big advantage. It helps both newbies and experts. Stay confident, stay informed, and let your creativity show in every ceramic piece.
Further Resources
If you’re interested in ceramics and repair, there’s a lot to explore. Whether you’re a DIY fan or a pro, knowing about different adhesives is key. It can make your projects better.
Check out detailed guides on ceramic adhesives. They show you how to pick and use the right glue for your projects. Sites like ZDS™ have lots of educational stuff. You’ll find blogs, videos, and tutorials on repairs and restoration.
Want to learn more about ceramic glue? Many experts in crafting and DIY have resources for you. They keep you up-to-date with new adhesives and techniques. This way, your skills will always be sharp.
Using these resources can boost your skills and confidence in ceramic work. You’ll get better at making things last longer and look great.
FAQ
How do you glue ceramic to ceramic?
To glue ceramic to ceramic, first clean and dry both surfaces well. Then, apply a thin layer of ceramic adhesive, like Loctite ceramic glue, to one surface. Press the pieces together and use clamps or a heavy object to hold them until the glue is fully cured.
For the best results, follow the manufacturer’s instructions for curing time and conditions.
Can you super glue ceramic together?
Yes, you can use super glue to bond ceramic pieces. Super glue, such as Gorilla Glue or Loctite Super Glue, works well with ceramic. Make sure the surfaces are clean and dry, apply the super glue sparingly, and press the pieces together until set.
Remember, super glue sets quickly, so be precise when aligning the pieces.
How to join ceramic pieces?
To join ceramic pieces, use a high-quality ceramic glue, like ZDS™ ceramic adhesive. Clean the surfaces to remove any dust or residue. Apply the glue evenly on one side, press the pieces together, and hold them in place using clamps or tape.
Allow sufficient curing time based on the adhesive’s instructions for a durable bond.
Will Gorilla Glue work on ceramic?
Yes, Gorilla Glue is effective for ceramic repairs. It is a versatile adhesive known for its strong bond on various materials, including ceramic. Clean the surfaces before applying a small amount of Gorilla Glue.
Press the pieces together and secure them until the glue sets. Keep in mind that Gorilla Glue expands as it cures, so less is more.
What is the strongest ceramic glue?
The strongest ceramic glue depends on the specific application. Two popular choices are epoxy adhesives and super glues like Loctite Super Glue or Gorilla Super Glue. Epoxy adhesives offer excellent bonding strength and durability.
Super glues provide quick and strong results for smaller repairs.
What kind of glue sticks to ceramic tile?
For ceramic tiles, use a ceramic adhesive or a construction adhesive designed for tile work. Thin-set mortar is also a common choice for ceramic tile installations. Make sure the adhesive is appropriate for the specific environment, such as bathrooms or kitchen backsplashes.
Follow the manufacturer’s application instructions.