Ever wondered why some adhesives don’t stick, even when you follow the instructions? Mastering Adhesive Application Tips can change everything. It can turn a weak bond into a strong one. In this article, we’ll share key tips and techniques for perfect results every time. These are vital whether you work in the automotive, construction, or aerospace fields.
We’ll cover everything from preparing surfaces right to knowing when they’re cured. We’ll also look at both manual and automated ways to apply adhesives. By learning how to apply adhesives well, you’ll be ready for any project. You’ll make sure your materials are durable and strong.
Key Takeaways
- Learn the importance of proper surface preparation for adhesive application.
- Understand the different techniques for applying adhesives.
- Get insights into optimizing bonding strength for various materials.
- Discover common adhesion problems and how to troubleshoot them.
- Learn how to select the right adhesive for your specific needs with the ZDS™ guide.
Introduction to Adhesive Application
Adhesive application is key in many areas, like building, making things, and fixing things at home. Knowing the adhesive application essentials helps us get the best results. It starts with making sure the surface is clean and ready.
There are many kinds of adhesives, each for different jobs. They range from glue for the house to strong stuff for big projects. Let’s look at an adhesive techniques overview to see how they work and what they’re good for.
Adhesives like cyanoacrylates, epoxies, and polyurethanes have special features for certain uses. Cyanoacrylates bond fast and are great for small fixes. Epoxies make strong, lasting bonds for big projects.
For a deep dive into how adhesives bond, from the tiny details to the big picture, ZDS™’s detailed look is very helpful.
In short, to be good at adhesive application essentials, we need to know about bonding basics, prepare surfaces right, and understand each adhesive’s traits. With this knowledge, we can make strong, lasting bonds in many projects and places.
Proper Surface Preparation
Getting the surface ready is key to a strong adhesive bond. If not done right, the bond can be weak. Let’s look at how cleaning, degreasing, and roughening help make surfaces stick better.
Cleaning and Degreasing
Cleaning and degreasing are the first steps in preparing a surface. Cleaning gets rid of dirt and dust. Degreasing removes oils and residues that can stop adhesives from sticking. It’s important to use the right solvents for degreasing, like isopropyl alcohol or acetone, to get the surface clean.
Surface Roughening Techniques
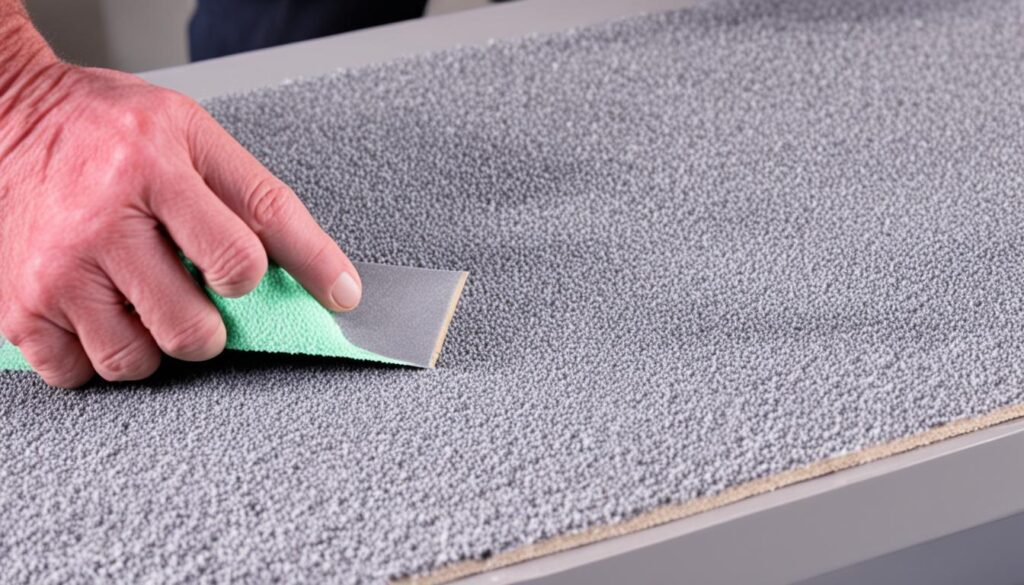
After cleaning, we roughen the surface. This makes the adhesive stick better and last longer. We use sanding, grit blasting, or chemical etching for this.
Sanding uses abrasive materials to roughen the surface. Grit blasting shoots abrasive particles at high speed. Chemical etching changes the surface with chemicals.
By carefully preparing the surface, we make sure the adhesion is strong and lasts a long time.
Understanding Curing Times
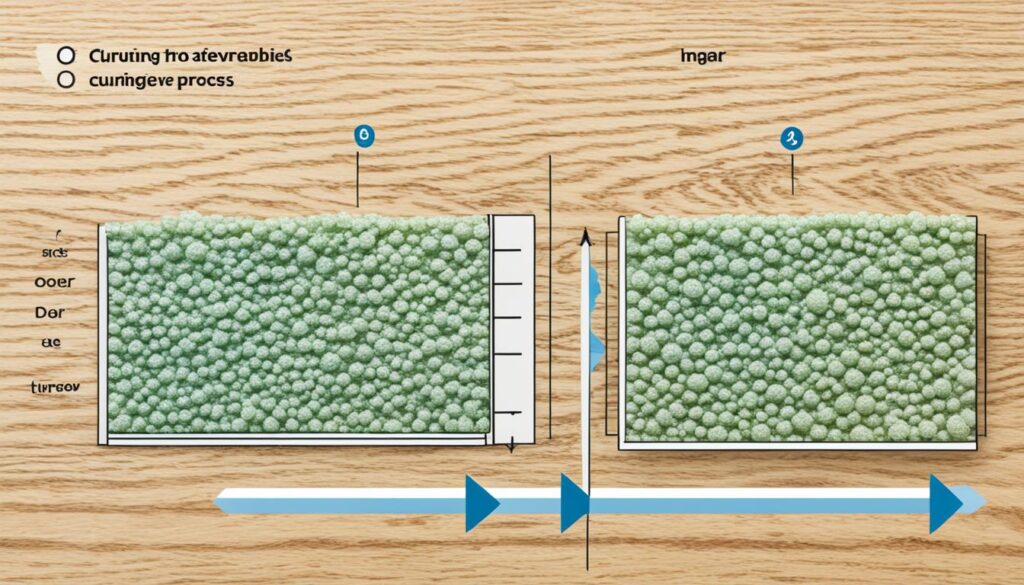
The adhesive curing process is key to a strong bond. Curing, affected by temperature and humidity, makes the adhesive set and get strong. Knowing how these factors work is important for good results.
Temperature is crucial for adhesive bond curing. Keeping the temperature right speeds up curing and makes the bond stronger. If it’s too low, curing slows down, making the bond weak. Our friends at ZDS™ offer great advice for curing conditions.
Humidity also matters a lot. High humidity slows down adhesive curing process. Too little moisture can make curing too fast, leading to a bond that’s not fully set.
To get the best results, follow the adhesive maker’s advice closely. Getting the bond strong and lasting long needs attention to temperature and humidity during curing.
Adhesives have different needs for curing. Here’s a look at various adhesives and what they need to cure well:
| Adhesive Type | Temperature Range (°F) | Ideal Humidity (%) | Curing Time |
|---|---|---|---|
| Epoxy | 60-80 | 40-60 | 24 hours |
| Polyurethane | 70-90 | 30-50 | 6-8 hours |
| Silicone | 50-70 | 40-60 | 12-24 hours |
Adhesive Application Techniques
There’s a big difference between manual and automated adhesive systems. Each has its own pros and cons. The right choice can greatly affect the quality and speed of the process.
Manual Application Methods
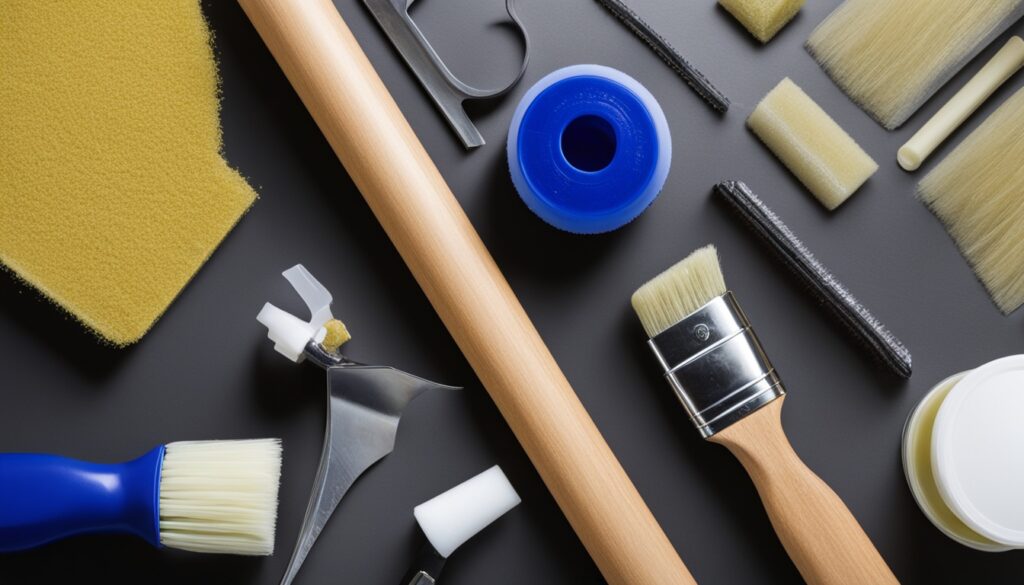
Manual methods give you a lot of control and flexibility. They’re great for small projects where you need precise adhesive application. Experts use tools like brushes, rollers, or syringes to handle complex designs and different amounts of adhesive. But, these methods can be slow and prone to mistakes.
To get a steady adhesive layer, keep your hands steady and apply even pressure. Also, follow the adhesive’s application instructions closely for the best results.
Automated Application Systems
For big projects, automated adhesive systems are unmatched in consistency and speed. They apply adhesive very evenly, cutting down on human mistakes. Some machines can even be programmed for exact adhesive amounts, making production faster and more reliable.
But, these systems cost a lot upfront and might not work well for projects needing detailed adhesive patterns or many changes. It’s key to keep them well-maintained for precision and efficiency.
In the end, picking between manual and automated adhesive systems depends on your project’s size and needs. Knowing the benefits and drawbacks of each helps us make the best choice for reliable and effective adhesive application.
Optimizing Bonding Strength
To get strong adhesive bonds, start by picking the right adhesive for your materials. The right adhesive boosts bonding strength and makes the adhesive work better. This ensures you get the best results.
Also, apply the right amount of pressure when bonding. This makes the adhesive spread evenly and go deep into the surfaces. It’s key for bonding strength optimization.
The age and shelf life of the adhesive are also very important. Using old adhesive can lead to weak bonds and poor adhesion.
Here’s a quick comparison to understand better:
| Adhesive Condition | Bond Strength | Effectiveness |
|---|---|---|
| Fresh | High | Optimal |
| Old | Low | Reduced |
At ZDS™, we suggest checking the expiration date of your adhesive and following storage guidelines. This keeps your adhesive in top shape. By doing this, you can always maximize adhesive effectiveness in your projects.
Adhesive Compatibility Considerations
Choosing the right adhesive is key for strong bonds. Different materials affect how adhesives work, so picking the right one is crucial.
Substrate Materials
Adhesives face unique challenges with plastics, metals, and composites. For instance:
- Plastics: Adhesives for plastics must be flexible and work well with the material’s surface.
- Metals: Metals need adhesives that are strong and can resist corrosion.
- Composites: Composites require adhesives that bond well and resist chemicals.
Environmental Factors
Environment plays a big role in how well adhesives stick. Think about moisture, temperature, and UV rays when picking an adhesive.
- Moisture: High humidity can weaken the bond. So, choose an adhesive that resists moisture well.
- Temperature: Extreme heat or cold can change how adhesives work, making them less strong or lasting shorter.
- UV Exposure: UV rays can break down adhesives. For outdoor use, pick adhesives that protect against UV rays.
ZDS™ offers detailed info and tests to help you find the right adhesive for your project’s needs.
Adhesive Application Tips
To get a successful adhesive application, following specific professional adhesive guidelines is key. Make sure you apply the adhesive under the best conditions as the maker suggests.
Managing how thick the adhesive is applied is crucial. A uniform layer stops air bubbles, which can weaken the bond. Here are some tips to keep in mind:
- Control the adhesive’s temperature and humidity to prevent premature curing or delayed setting.
- Apply a consistent layer using appropriate application tools like trowels or automated systems.
- Ensure there are no voids or air pockets by effectively pressing the materials together.
- Follow exact curing times as outlined by the manufacturer to guarantee the adhesive reaches its optimum strength.
“Precision and patience are key. Rushing the process or skimping on preparation can undo all your hard work. Always follow the proven guidelines for the best results.”
| Practice | Benefit |
|---|---|
| Following Manufacturer Guidelines | Ensures maximum adhesive performance |
| Proper Layer Thickness | Prevents air bubbles and improves bond strength |
| Controlled Application Conditions | Helps in achieving a consistent application |
By sticking to these professional adhesive guidelines and using effective application insights, we can improve our adhesive skills. This leads to strong and reliable bonds every time.
Troubleshooting Adhesion Issues
Finding and fixing adhesion problems can be tough, but it’s doable with the right steps. We’ll look at ways to spot and fix common adhesion issues. This will help make sure your adhesives work well.
Common Adhesion Problems
Adhesion issues often lead to weak bonds, blistering, and peeling. Weak bonds happen when surfaces aren’t prepared right or when adhesives don’t match. Blistering comes from air or gases getting trapped during curing. Peeling might be due to not enough adhesive or dirty surfaces.
Diagnostic Methods
Using the right methods to diagnose problems is key. Visual checks can show issues like blistering or peeling. Tests like peel and pull-off tests give numbers on how strong the bond is. They help fix adhesion problems.
Looking at manufacturer guides, like those from ZDS™, can also offer helpful advice. These resources give insights into how adhesives perform under different conditions.
By using these diagnostic methods, you can quickly find and fix adhesion issues. This makes your adhesive applications more reliable and long-lasting.
Safety Precautions in Adhesive Applications
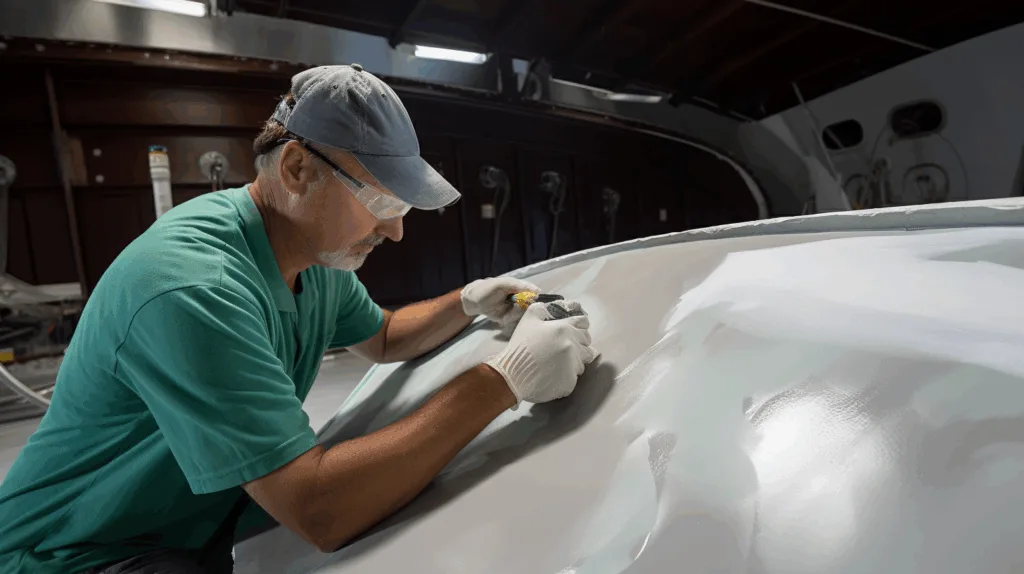
When working with adhesives, making sure we’re safe is key. We need to take steps to protect ourselves and the environment. First, wearing the right protective gear is a must. This includes gloves, goggles, and clothes to keep skin and eyes safe from adhesives.
Good airflow is also crucial for safety. Working in areas with fresh air helps avoid breathing in harmful fumes. Having a good exhaust system or enough air flow is important for keeping safe during adhesion.
How we store and get rid of adhesives is also key to safety. Following the maker’s storage tips helps avoid accidents. Also, following local rules for throwing away adhesives keeps our planet safe.
It’s important to keep up with the latest safety tips and new products. For instance, ZDS™ offers special epoxy resin that’s safe and works well. This shows a focus on safety and quality.
Here’s a table with important safety tips for adhesive use:
| Safety Precaution | Description |
|---|---|
| Personal Protective Equipment (PPE) | Gloves, safety goggles, and protective clothing to prevent skin and eye contact. |
| Proper Ventilation | Ensuring good airflow in the workspace to avoid inhaling hazardous fumes. |
| Correct Storage | Storing adhesives as per manufacturer instructions to avoid accidents. |
| Disposal according to Regulations | Following local guidelines ensures environmental safety. |
Following these safety steps makes sure our adhesive work is safe and effective. Let’s focus on safety to make our work areas secure and our results top-notch.
Adhesive Selection Guide from ZDS™
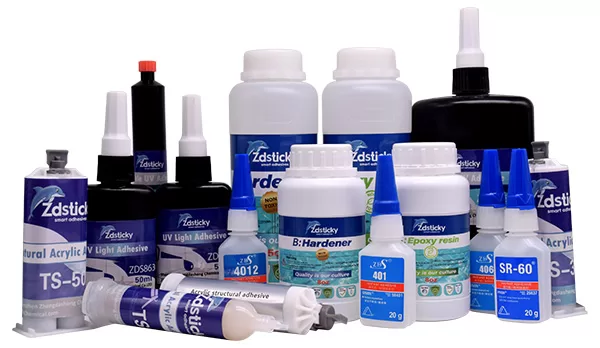
Choosing the right adhesive can be tough with so many options from ZDS™. Our selection has products for different materials and uses. This ensures you find the perfect adhesive for any project.
Our product guide is easy to use but knowing the basics helps a lot. Let’s quickly go over what we offer:
- Epoxy Adhesives: Great for bonding metal and composites, they’re strong and durable.
- Cyanoacrylate Adhesives: Fast for bonding small to medium parts, works well with plastics and elastomers.
- Polyurethane Adhesives: Flexible and fills gaps well, good for many materials.
- Acrylic Adhesives: Stand up to the elements, perfect for outdoor and structural projects.
Let’s compare our top adhesives:
| Product | Material Compatibility | Key Benefits | Common Applications |
|---|---|---|---|
| Epoxy 2000 | Metal, Composites | High strength, Durable | Aerospace, Automotive |
| Cyano 100 | Plastics, Elastomers | Fast curing, High bond | Electronic Components, Hobbyist Uses |
| Polyure 450 | Wood, Ceramics | Flexible, Gap-filling | Building Materials, Crafts |
| Acrylic Pro | Metals, Plastics | Weather-resistant | Outdoor Installations, Signage |
Here are some tips for using our product guide:
- Check the material compatibility of each adhesive.
- Think about what your project needs.
- Start with our ZDS adhesive selection for the best Adhesive bonding strength and durability.
Understanding our products makes picking the right adhesive for your project easier.
Conclusion
As we wrap up our guide on mastering adhesive application, remember the key steps we’ve covered. These steps are crucial for a strong bond. They start with preparing and cleaning the surface and move to understanding curing times.
We looked at various adhesive application methods, both manual and automated. We also stressed the importance of picking the right adhesive for the job. This knowledge helps you choose the best adhesive for different materials and conditions. It’s essential for making your bonds strong and lasting.
Our guide on selecting adhesives from ZDS™ offered expert advice on choosing the right adhesive for your needs. With the detailed tips and troubleshooting advice, you can improve your bonding process. Remember, paying close attention to each step leads to better results. We hope you’ll use these techniques in your projects for lasting adhesion.
FAQ
Why is proper surface preparation critical for adhesive application?
Cleaning the surface before applying adhesive is key. It removes dirt and oils that can weaken the bond. Techniques like sanding or etching make the surface rougher, helping the adhesive stick better.
How do environmental factors affect adhesive performance?
Things like temperature, humidity, and UV rays can change how adhesives work. It’s important to pick products that can handle these conditions. This helps keep the bond strong over time.
What are some tips for successful adhesive application?
Make sure the surface is clean before applying adhesive. Control how thick the layer is to prevent air bubbles. Follow the product’s guidelines for application and curing times. Applying the right pressure also helps the adhesive work better.
What is the difference between manual and automated adhesive application methods?
Manual methods give you control for small tasks but can be hit-or-miss. Automated systems are precise and consistent, great for large quantities. The best method depends on the job at hand.
How can we troubleshoot common adhesion issues?
Issues like weak bonds or peeling often come from dirty surfaces, wrong adhesives, or not curing properly. Check for dirt, use the right glue, and cure it right. Guides from the manufacturer can also help.
Why is it important to understand adhesive curing times?
Curing is key for the adhesive to bond fully. Temperature and humidity can change how long it takes. Getting these conditions right makes the bond last longer and work better.
How do we choose the right adhesive for different materials?
Picking an adhesive that matches the material is crucial. Think about the material’s properties, like if it’s plastic, metal, or composite. ZDS™ has a guide to help pick the right adhesive for your needs.
What safety precautions should be taken during adhesive application?
Always wear protective gear and ensure good airflow when using adhesives. Follow safety rules for storing and getting rid of adhesives to avoid accidents and protect the environment.

