UV cured resin has taken the crafting world by storm with its rapid curing time and versatility. Whether you’re experienced or new to resin crafting, it’s important to master UV cured resin for perfect results. In this tutorial, we will show you how to make UV cured resin creations. This guide will make sure your resin projects shine, from preparation to curing.
Step 1: Gather Your Materials and Equipment
Before you begin creating UV cured resin masterpieces, make sure you have all the necessary materials and equipment on hand. This includes:
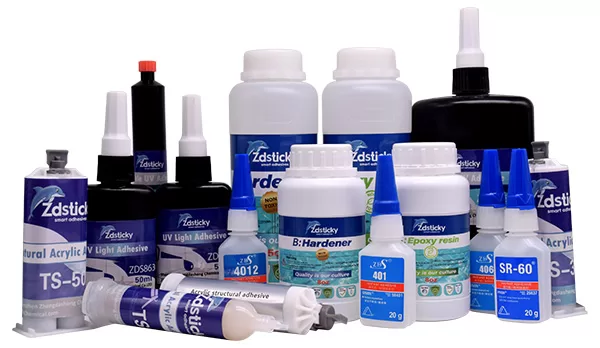
- UV cured resin (obtainable from DIY UV resin suppliers)
- Acrylate monomers and photoinitiators (if you prefer to mix your own resin)
- Pigments, dyes, or other additives for color and effects
- Mixing cups, stir sticks, and pipettes for accurate measurements
- Protective gloves, safety glasses, and a well-ventilated workspace
- UV lamp or light source with appropriate intensity and wavelength
Step 2: Prepare Your Workspace
Ensure you’re working in a clean and well-ventilated area, preferably away from direct sunlight. To keep your workspace safe, use a tablecloth or silicone mat to protect it from spills and resin drips. Put on your protective gloves and safety glasses to ensure your safety throughout the process.
Step 3: Measure and Mix the Resin
Follow the manufacturer’s instructions for measuring the appropriate amount of UV cured resin. If you’re mixing your own resin using acrylate monomers and photoinitiators, carefully measure the required amounts based on the desired resin formulation. Use separate mixing cups for resin and additives to maintain accuracy.
To mix the resin, pour the measured amount into a clean mixing cup. Stir gently but thoroughly, ensuring all components are evenly combined. Take care to minimize introducing air bubbles into the mixture during the stirring process.
Step 4: Add Pigments or Effects (Optional)
If you desire colored or effects-enhanced resin, now is the time to add pigments or other additives. Follow the manufacturer’s instructions regarding the appropriate quantity of pigment or additive to achieve your desired effect. Stir the mixture gently until the color or effect is evenly distributed throughout the resin.
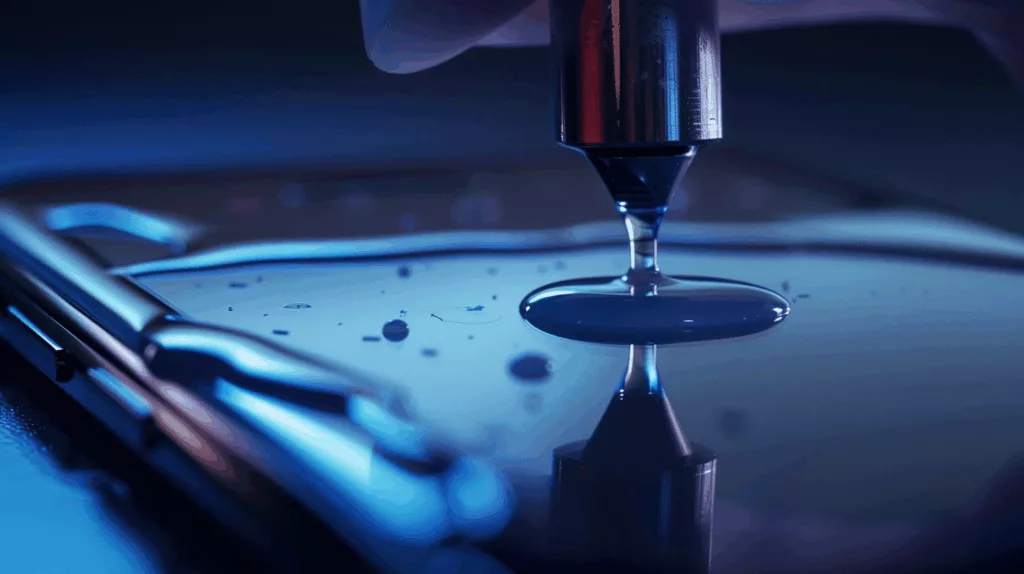
Step 5: Apply and Shape the Resin
Once your resin is mixed and any desired color or effect is added, it’s time to apply and shape the resin. Use pipettes or a pouring technique to carefully transfer the resin into molds, bezels, or onto surfaces. Take advantage of various tools like toothpicks, tweezers, or silicone spatulas to manipulate and shape the resin as desired.
Step 6: Cure Under UV Light
After shaping the resin, it’s time to cure it under UV light. Place your resin creations under a UV lamp or light source that has the right intensity and wavelength as recommended by the manufacturer. Follow the curing time guidelines provided, ensuring each side receives sufficient exposure for thorough curing.
Step 7: Finishing Touches and Final Inspection
Once the resin has cured, remove it from the molds or assess its adhesion to the desired surface. Inspect the finished piece for any imperfections, such as uneven surfaces or trapped air bubbles. If necessary, sand the cured resin to achieve a smooth finish or fill any small imperfections with a second layer of resin.
Mastering the art of making UV cured resin opens up a world of creativity and endless possibilities for crafters and artists alike. By following this step-by-step tutorial, you can confidently navigate the process from preparation to curing, ensuring your resin creations turn out flawlessly every time.
Remember, obtaining high-quality UV cured resin is crucial for achieving the best results. Consider sourcing your materials from reliable DIY UV resin suppliers to ensure consistent quality and availability.
So, gather your materials, set up your workspace, and embark on your journey of creating stunning UV cured resin pieces. With practice and attention to detail, you’ll soon master the techniques and create breathtaking resin art that shines with its radiant beauty.