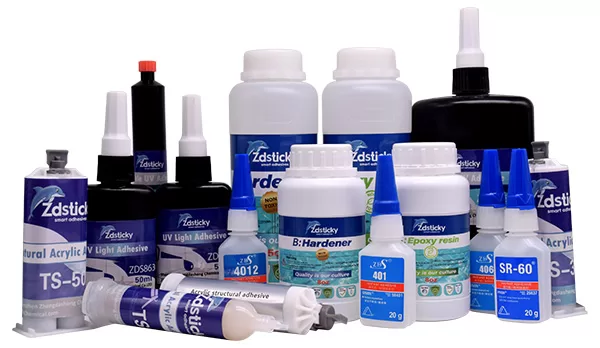
We know how important strong adhesives are for motorhomes. These adhesives keep the quality high and make them last longer. At ZDS™, we have a wide variety of top-quality adhesives made for the automotive industry. Our products can handle the tough situations RVs go through, like weather changes and constant shaking.
In this guide, we dive into the different adhesives you can use in a motorhome. Our adhesives ensure a strong bond and durability. This means you can trust our products for anything. Whether it’s sticking up a fixture on the ceiling or adding a solar panel, ZDS™ has the right adhesive for the job.
For more details and top-notch products, visit our automotive adhesive manufacturer page.
Key Takeaways
- ZDS™ provides a wide range of durable motorhome adhesives tailored for various applications.
- Our adhesives are designed to withstand temperature fluctuations and road vibrations.
- The motorhome adhesive buying guide offers insights into choosing the right solutions.
- Professionals can rely on our adhesives for superior bond strength and longevity.
- Visit our website for more information and premium adhesive products.
Introduction to Motorhome Adhesives
Choosing the right motorhome adhesives is key for anyone in the motorhome industry. The correct adhesives ensure your motorhome lasts longer, stays strong, and is sealed right. This makes your motorhome journey more fun and less of a hassle.
Importance of Choosing the Right Adhesive
Finding the right adhesive is critical for keeping your motorhome in top shape. Motorhome adhesives vary, and picking the right one depends on the surface, environment, and stress it will face. High-quality adhesives like those from ZDS™ are made for different motorhome parts, keeping everything tightly in place.
Overview of Common Applications
Adhesives are used for many things in motorhomes, both inside and out. They’re used for sealing windows, attaching panels, fixing interior items, and strengthening structures. Knowing which adhesives to use for these tasks improves your motorhome’s performance and longevity.
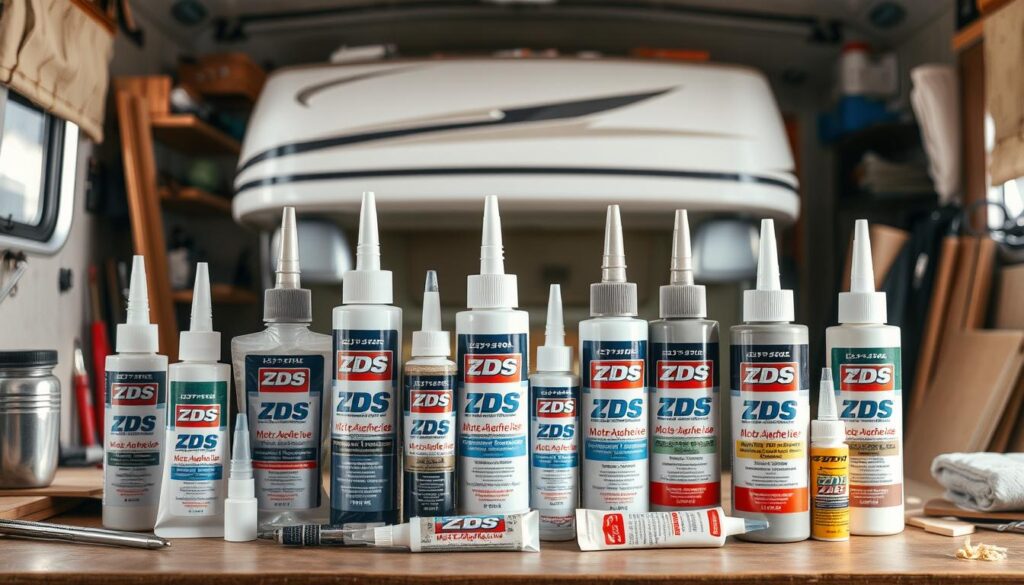
Choosing the proper adhesives for each task means your motorhome will be more secure and durable. It helps your vehicle handle the demands of travel and changing weather. The right adhesive is key to your motorhome’s safety and your comfort.
Glue for Fixing Ceiling in Motorhome
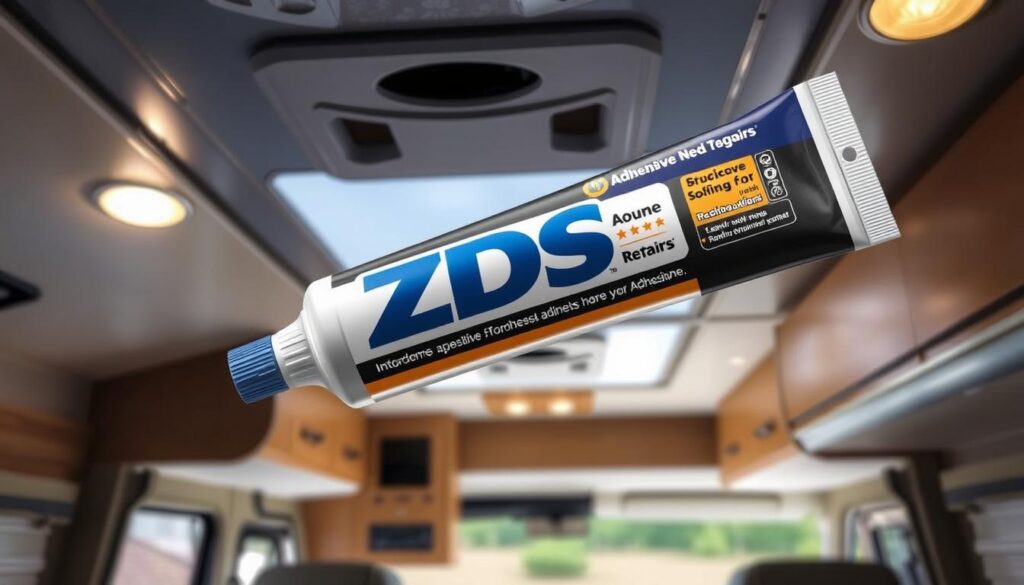
Getting your motorhome’s ceiling fixed requires high-quality adhesives. There are specific glues made just for this. Knowing which ones to use and how to apply them is key to a great finish.
Types of Adhesives Suitable for Ceiling Repairs
Choosing the right glue depends on the ceiling’s material and the repair’s needs. Some adhesives stand out for their versatility and effectiveness:
- Polyurethane Adhesives: These are very strong and waterproof. They’re perfect for ceiling jobs.
- Epoxy Adhesives: They bond firmly and last a long time. They work well on many surfaces.
- Acrylic Adhesives: These provide a mix of flexibility and strength. They’re good for dealing with temperature changes.
Step-by-Step Application Process
Follow this guide to apply your adhesive correctly for a ceiling repair:
- Surface Preparation: Make sure the ceiling area is clean and dry. Remove any dust or debris.
- Adhesive Application: Spread the glue evenly where needed. Always check the instructions for the best results.
- Press and Hold: Put the ceiling panel in place. Press down steadily. You may need props to hold it.
- Proper Curing: Give the glue enough time to set fully. Follow what the manufacturer says for a solid repair.
Using top-notch adhesives like polyurethane, epoxy, and acrylic ensures a reliable ceiling fix. Following the application steps will help achieve a lasting and professional outcome.
Glue for Motorhome Screws
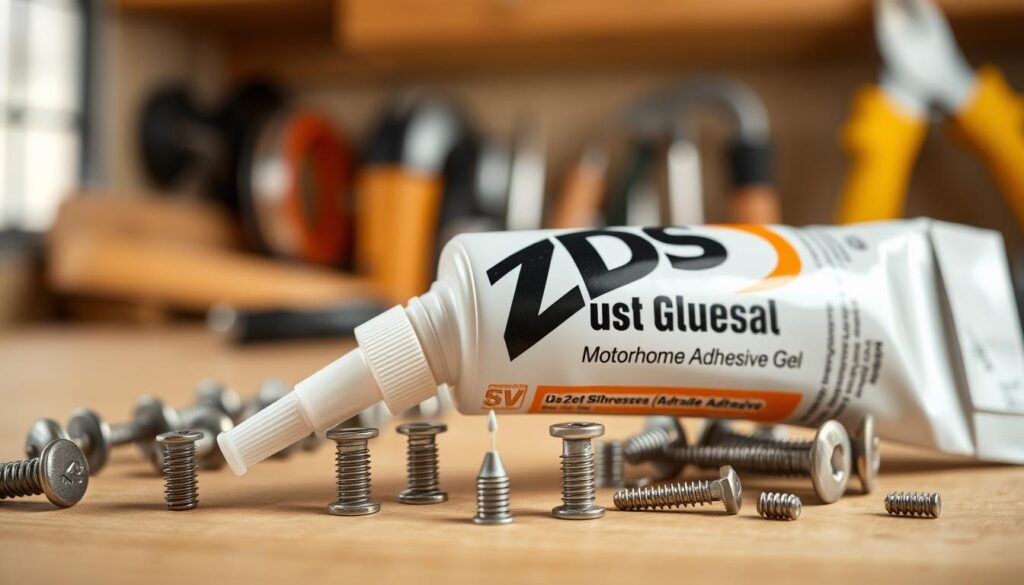
It’s super important to ensure screws in motorhomes last long to keep the structure safe. The right glue can make these screws more durable and perform better. Let’s explore the best adhesive choices and methods to make screws in motorhomes last longer.
Why Adhesive is Essential for Screw Longevity
Glue is key for keeping screws tight against vibrations, stress, and weather damage. Motorhome glue for repairs, especially made for screws, creates a strong hold. This spread prevents the screws from failing, making the motorhome safer and more stable.
Recommended Products and Techniques
We suggest high-quality glues like the ZDS™’s advanced formula for screw security. It’s great at fighting off vibrations and stress.
- ZDS™ Advanced Formula: Provides great strength and lasts long.
- Application Technique: Make sure the screw and hole are clean and dry before gluing. Allow enough time for the glue to set.
- Inspection: Regularly check if screws are tight and reapply glue as needed.
Choosing the right glue for motorhome screws and using these steps can really help extend the life of your motorhome’s structure.
Glue on Motorhome Sliding Window Latch
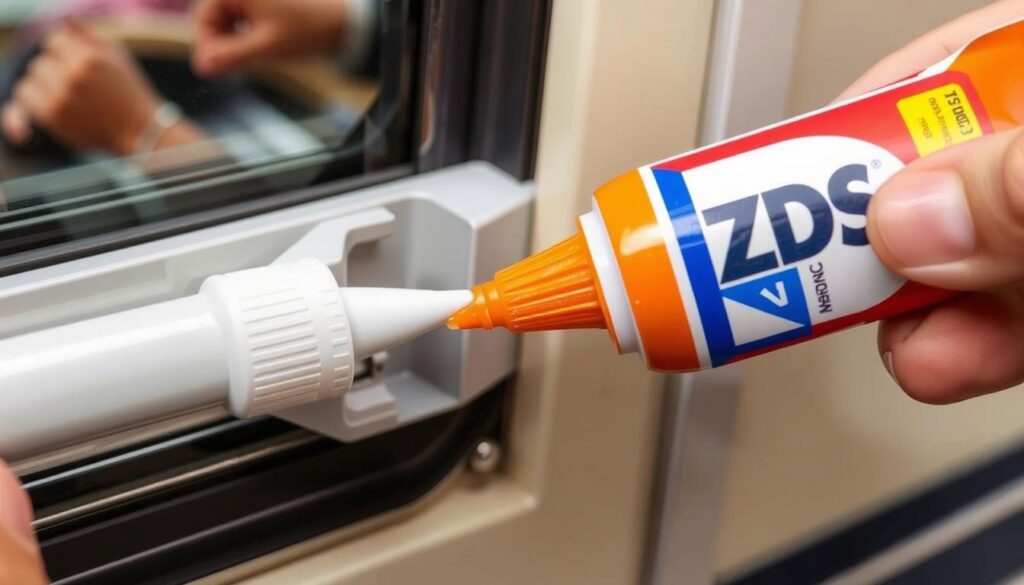
It’s important to make sure your motorhome’s sliding window latch is secure. The right glue can really help with latch durability and performance. Here, we share the best glues and tips for a strong installation.
Best Adhesives for Window Latch Repairs
For fixing a sliding window latch, you need a strong, precise adhesive. We’ve tested and recommend these top adhesives:
- 3M Auto Glass Urethane Windshield Adhesive: It creates a strong hold, keeping the latch securely in place.
- Loctite PL Premium Polyurethane Construction Adhesive: It’s very durable and handles various weather well.
- Gorilla Heavy Duty Construction Adhesive: Good for a quick, sturdy bond, it’s versatile and strong.
Installation Tips for Optimal Performance
To ensure your motorhome’s sliding window latch sticks well, follow these tips:
- Clean the Surface: Make sure the latch and window are clean. Rubbing alcohol works great.
- Apply the Adhesive Evenly: Put a thin, even layer of glue on the latch.
- Align Correctly: Place the latch on the window carefully and press down well.
- Allow Proper Curing Time: Let the glue dry as the maker suggests for the best hold.
Using the right glue and these steps, you can make sure your motorhome’s window latch is secure. This keeps your motorhome safe and in good shape under many conditions.
Motorhome Roof Adhesive
It’s vital to pick the right motorhome roof adhesive for a lasting, weather-proof seal. The choice of adhesive impacts your motorhome’s lifetime and safety greatly. Knowing about these adhesives enhances their use.
Characteristics of Effective Roof Adhesives
Good roof adhesive must handle all kinds of weather, from scorching sun to pouring rain. It needs to stick well to rubber, metal, and fiberglass. Also, it must resist UV rays to avoid wearing out.
Application Techniques for Durability
To make sure the adhesive lasts a long time, follow these steps:
- Surface Preparation: Make sure the roof is clean and dry, free from old adhesive or debris.
- Bonding: Spread the adhesive evenly with a brush, roller, or gun and press out air bubbles.
- Curing: Let it cure as long as the maker suggests for the best strength.
- Inspection: Check the areas regularly for any wear or looseness, especially after bad weather.
ZDS™ has a lineup of motorhome roof adhesives made for strength and durability. These are top picks among experts for achieving lasting bonds.
Have a look at this picture for a better understanding of how to apply motorhome roof adhesive effectively:
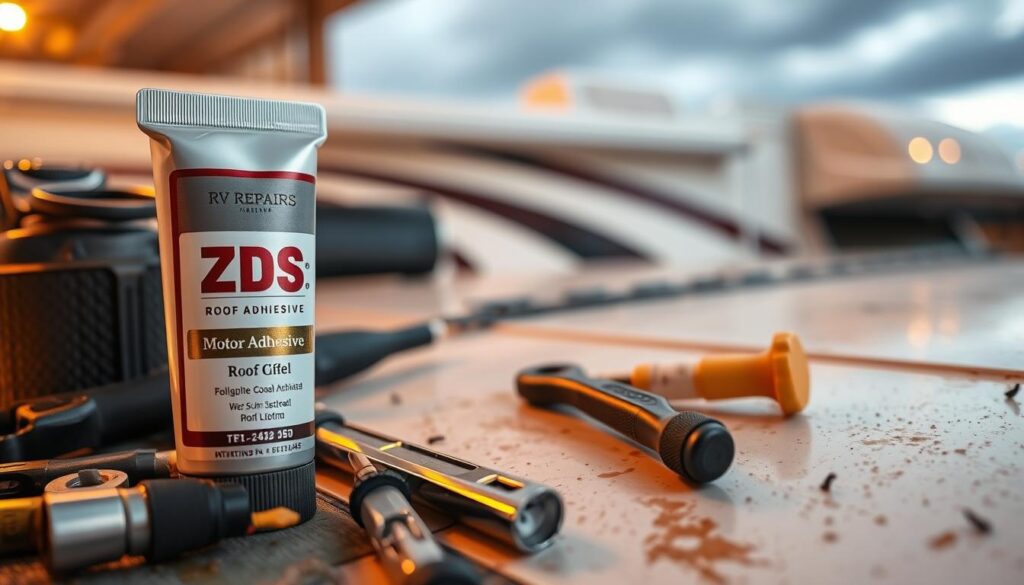
By using these methods, your motorhome’s bond will be strong and enduring. This keeps your motorhome safe from weather damage and keeps it sturdy.
Motorhome Solar Panel Adhesive
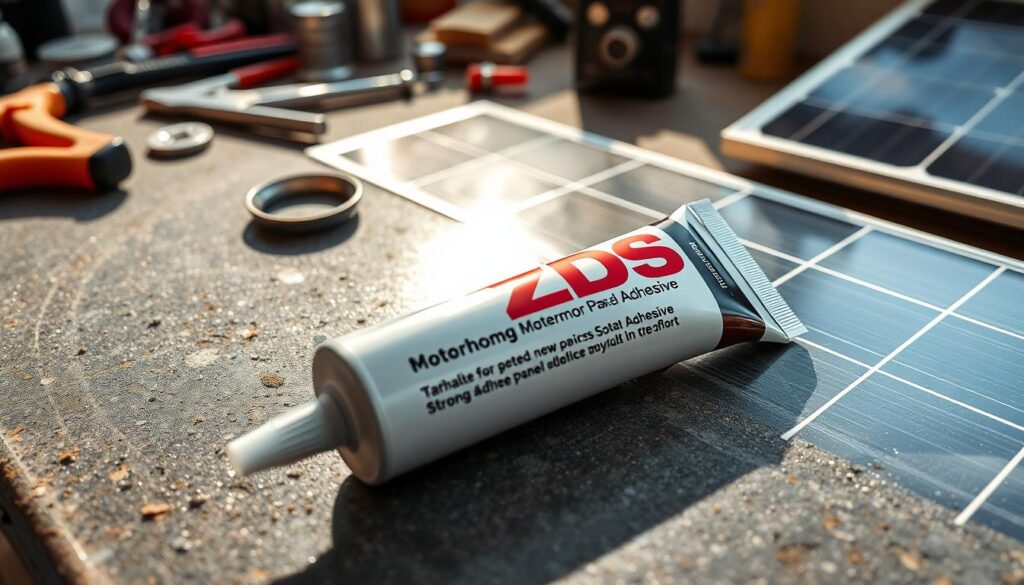
Putting solar panels on a motorhome? You’ll need strong, sturdy glues. It’s key to pick the right adhesive to keep panels in place, no matter the weather.
Choosing the Right Adhesive for Solar Installations
Picking the best glue means looking at UV resistance, flexibility, and how well it sticks. Brands like ZDS™ are often chosen for their reliability outdoors.
Guidelines for a Secure Bond
Make sure you stick the panels on right for a bond that lasts. Start with a clean surface, free of dirt or grease. Then, spread the glue evenly and put the panels down firmly. Give the adhesive time to set before you use it.
| Adhesive Brand | Key Features | Application Advice |
|---|---|---|
| ZDS™ | High UV resistance, excellent strength | Clean surfaces, even application, adequate curing time |
Motorhome Tile Adhesive
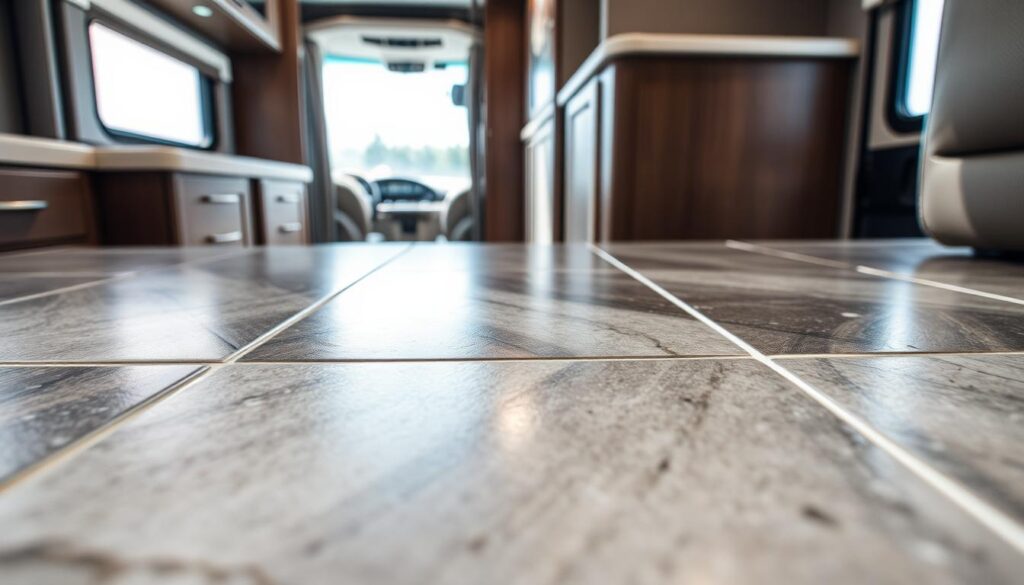
Choosing the right motorhome tile adhesive is key to keep tiles in place, moving or not. Our guide looks at top adhesive choices for motorhomes. It helps you make smart choices.
Types of Adhesives for Tile Installation
When picking a motorhome tile adhesive, think about the tile type and surface. Here are some leading adhesive options for motorhomes:
- Epoxy Adhesives: Great for heavy tiles in areas under strain, epoxy adhesives are tough and resistant.
- Acrylic-Based Adhesives: These adhesives can bend and move, perfect for the moves a motorhome makes.
- Polyurethane Adhesives: Good for inside or outside, these adhesives bond strongly and last long.
Best Practices for Application
To get a solid bond and long life, follow these tips with your chosen motorhome tile adhesive:
- Surface Preparation: Clean and dry the surface well before adhesive. Get rid of any dust, oil, or loose stuff.
- Adhesive Application: Spread the adhesive evenly with a notched trowel. Make sure you cover underneath each tile fully.
- Tile Placement: Push the tiles into the adhesive hard. Check they’re level and lined up. Let them dry as long as the maker says.
- Grouting: After the adhesive sets, put grout between the tiles. This secures the tiles more and looks better.
Pick the best motorhome adhesives and follow these tips for a job well done. It ensures your motorhome tiles are set right and last.
Motorhome Wallboard Adhesive
Making sure your motorhome’s wallboards are secure is key. It stops future problems and keeps the inside looking good. The right adhesive ensures your wallboards stay put for a long time. We have found the best glues and ways to install them for you.
Adhesives that Work Best with Wallboards
Choosing the right glue for wallboards in a motorhome matters a lot. We suggest using products made just for this. ZDS™ adhesive, for example, sticks really well to wallboards. This makes sure they stay on tight and last long.
Installation Strategies for a Solid Finish
To get a professional look, just follow these steps:
- Surface Preparation: Clean and dry both the wallboard and motorhome surface to get rid of dust.
- Adhesive Application: Spread the adhesive evenly on the wallboard with a notched trowel for good stickiness.
- Positioning: Put the wallboard on the motorhome’s surface carefully, making sure it’s straight.
- Pressure and Drying: Push down hard and use clamps to keep the wallboard in place until the glue dries.
Following these steps and using the best adhesives will give your motorhome interior a strong and nice finish.
Motorhome Window Glue
Keeping your motorhome windows well-sealed is key. It helps keep it warm inside and stops water from getting in. Using the best motorhome adhesives makes your repairs last longer and work better.
Essential Features of Window Adhesives
A good motorhome window glue must be clear so you can see through it easily. It should also seal well against all kinds of weather. Products like those from ZDS™ tick both these boxes, offering clarity and strong sealing.
Application Process for Window Sealing
To apply motorhome window glue correctly, start with a clean window. Make sure there’s no dirt or old glue left. Then, put the adhesive all the way around the window’s edge.
Push the window in place tightly. Let the glue dry as long as the instructions say. This careful way of doing it helps keep your motorhome safe from water and makes it last longer.
Conclusion: Selecting the Best Motorhome Adhesives
Choosing the right adhesive can greatly improve your motorhome’s performance and lifespan. By following our motorhome adhesive buying guide, you ensure that every repair or upgrade works well. This brings peace of mind to those who love their motorhomes.
Final Thoughts on Adhesive Choices
It’s vital to pick high-quality adhesives for strong, lasting bonds. Our guide on selecting the best motorhome adhesives points out top products for different repair needs. Using the right adhesives saves you time, effort, and money in the long run.
Influence on Long-term Motorhome Maintenance
Top-notch adhesives, like ZDS™, are key in keeping your motorhome in good shape. They help with everything from securing panels to repairing complex parts. Always check our motorhome adhesive buying guide to make choices that help your motorhome last longer.
FAQ
What kind of sealant to use on a motorhome?
Use silicone-based or polyurethane sealants for motorhomes. They are flexible and resist weather well. ZDS™ has products designed just for this.
What sealant do caravan manufacturers use?
Manufacturers often use silicone, polyurethane, or butyl tape. ZDS™ products are popular for their long-lasting performance in the industry.
What is the best campervan roof sealant?
A top campervan roof sealant sticks well and stretches without breaking. ZDS™ has adhesives that meet these needs for a reliable fix.
What is the best adhesive for campervan skylight?
UV-resistant polyurethane adhesive works best for skylights. It bonds strongly and stands up to sunlight. ZDS™ offers the right adhesives for the job.
What to use to reseal a motorhome roof?
Use a quality, waterproof sealant for resealing motorhome roofs. ZDS™’s products are made to give a tight, durable seal.
How often should you reseal a motorhome roof?
Reseal your motorhome roof every two to three years. If you see wear, leaks, or damage, do it sooner. ZDS™ products can help keep your roof in good shape.
Can I use silicone to seal RV roof?
Yes, but make sure it’s a high-grade silicone made for RVs. ZDS™ provides excellent silicone sealants for RV roofs.
What kind of sealant for RV roof?
Choose a sealant that resists UV rays and weather. ZDS™ has a selection of adhesives that are perfect for RV roofs.


