The time it takes for adhesion to happen is important for production and bond strength. UV light can cure acrylic adhesives quickly and make them strong. This is a big advancement in adhesive technology. ZDS™ is a cutting-edge manufacturer. They know how important it is to optimize curing time for better performance. This in-depth study examines how long it takes for UV light curing adhesives to dry and how they are changing different industries.
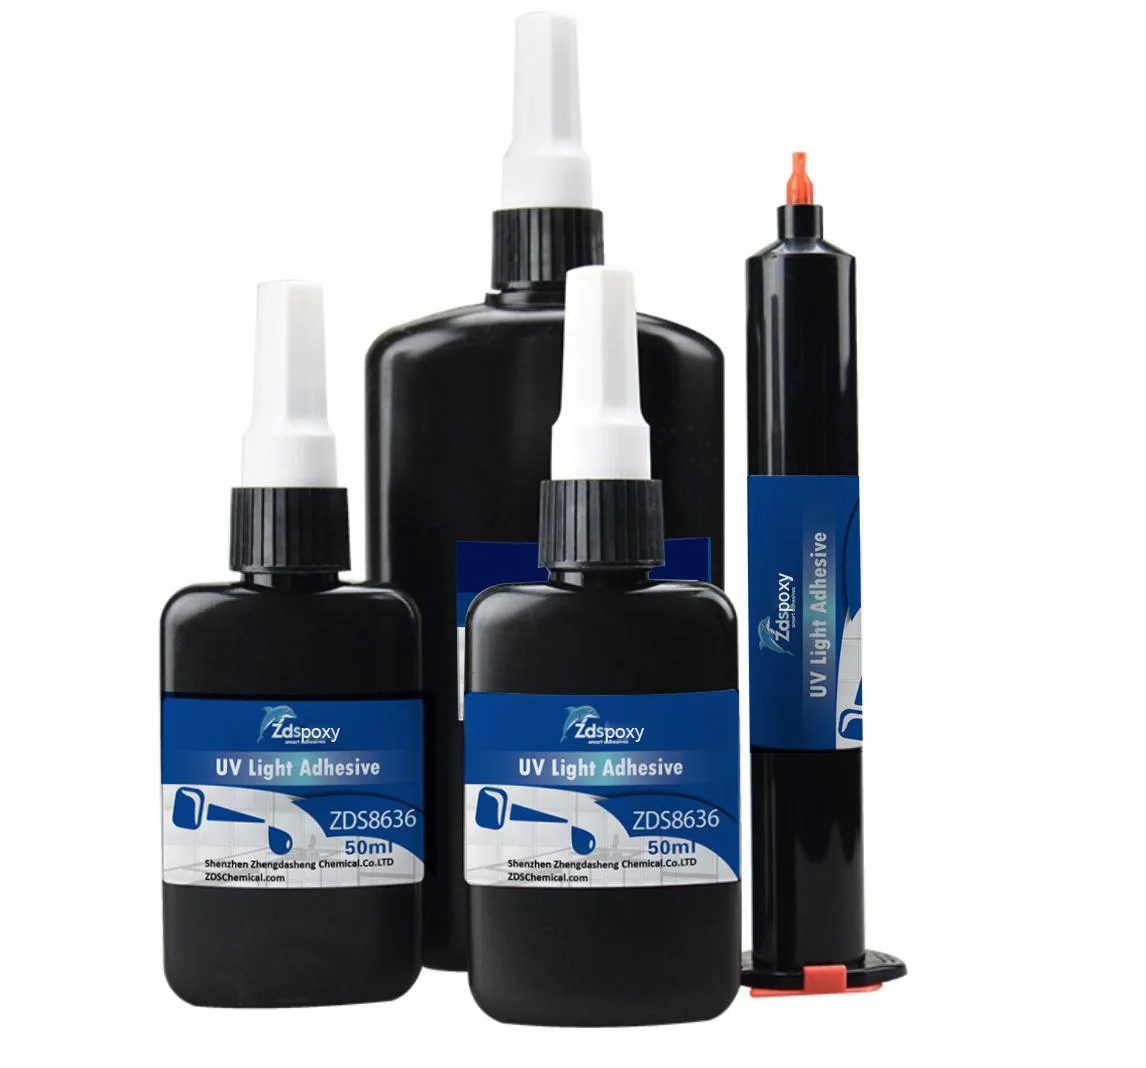
The Catalyst for Change: UV Light Curing Adhesive
UV light curing adhesive has revolutionized the bonding of materials, especially for precise and durable applications like glass bonding. Using UV light, these adhesives quickly change from liquid to solid through photopolymerization.
Unraveling the Curing Process
Curing Times Under the Spotlight
Epoxy Resin: A Case Study in UV Curing
Epoxy resins traditionally take hours or even days to cure completely. However, when designed to be UV reactive, they can significantly benefit from reduced curing times. Depending on the specific UV-reactive epoxy formulation, curing can be accelerated to just a few minutes under UV light exposure.
Traditional Glues in the UV Arena
Advantages of Rapid UV Cure Adhesives for Glass
- Speedy Curing: With the ability to cure in seconds to minutes, UV adhesives dramatically reduce waiting times, enabling quicker throughput and productivity boosts.
- Crystal Clear Bonds: UV adhesives often provide optically clear bonds, making them ideal for aesthetically sensitive applications, such as glass furniture or artwork.
- High-Strength Joining: The bonds formed are typically stronger than the glass itself, ensuring durability and longevity.
- Minimal Thermal Stress: Since UV curing generates little heat, there’s reduced risk of thermal damage to sensitive components or substrates.
- Environmental Resistance: Many UV-cured adhesives boast excellent resistance to moisture, temperature fluctuations, and UV light, maintaining bond integrity over time.
Best Practices for Optimal UV Curing
To achieve the best results with UV light curing adhesives, consider the following best practices:
- Proper UV Light Selection: Use a UV light source (lamp or LED) that provides the correct wavelength and sufficient intensity for the particular adhesive being used.
- Appropriate Exposure: Ensure that the adhesive receives direct, uniform exposure to UV light for the duration recommended by the adhesive manufacturer.
- Thickness Control: Apply the adhesive in the recommend thickness; too thick layers may not cure properly, while too thin layers might not provide enough bonding strength.
- Environmental Conditions: Cure adhesives in an environment free from dust and other contaminants that could interfere with the curing process.
- Safety Precautions: Always use protective equipment, such as safety glasses and gloves, when handling UV-curing adhesives and UV light sources.
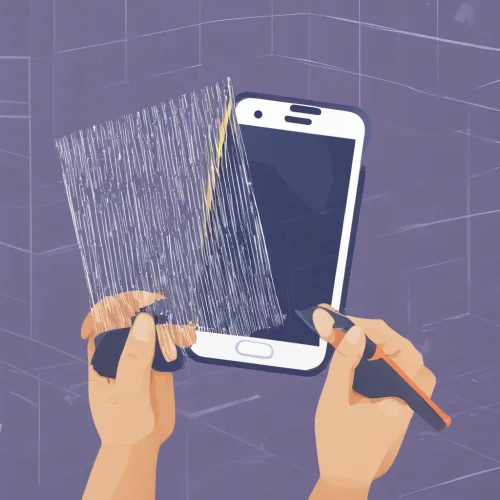
Curing Beyond Conventional Wisdom: Does UV Glue Damage Screens?
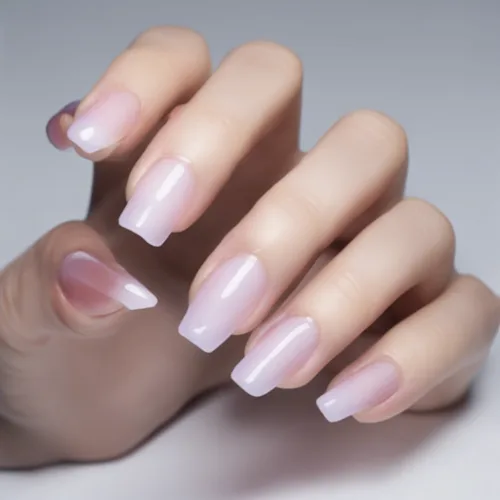
Crafting with Care: How to Use UV Glue for Nails
UV glue for nails requires a precise application followed by curing under a UV or LED lamp. It is important to apply a thin layer to avoid overflow and ensure even curing. The length of exposure time will be dictated by the glue’s formulation and the lamp’s output, but a standard range is 1-3 minutes per layer.
Conclusion
In summary, the curing time of UV light curing adhesives is a pivotal aspect that defines their practicality and efficiency. These adhesives set quickly, helping industries assemble things faster, make them stronger, and create detailed designs. ZDS™ and other acrylic adhesive companies can lead the market by using UV curing technology. This technology saves time without compromising quality. By mastering curing times with UV light curing adhesives, you can create faster, stronger, and more reliable bonds. This technique is useful for securing glass tabletops, repairing electronic devices, and embellishing nails.

